
How to Choose Your First Greenhouse: A Complete Beginner’s Guide for 2025
Learn how to choose your perfect first greenhouse with our expert guide. Discover size, materials, and features to extend your growing season by 2-3 months.
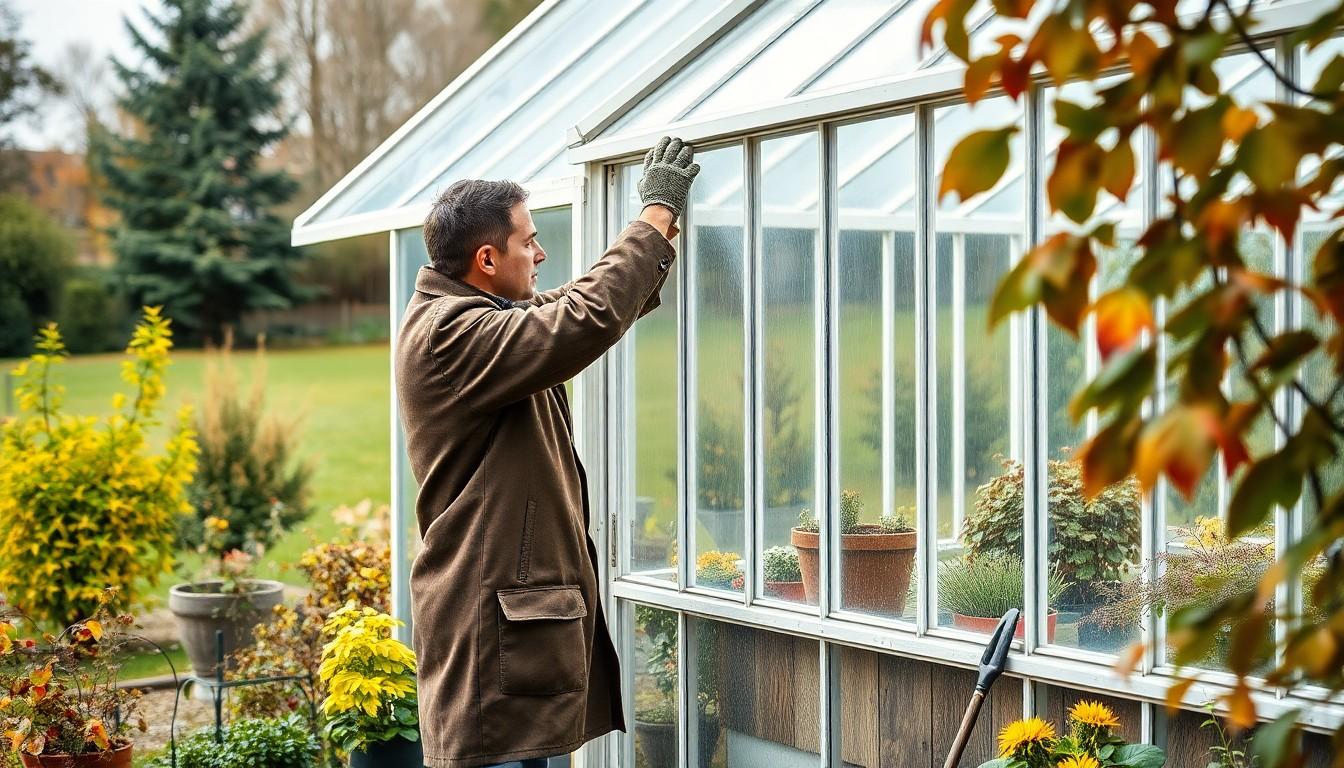
As autumn’s chill creeps in and temperatures begin to drop, you’ll want to ensure your greenhouse is ready for the winter ahead. Proper winterisation of your polycarbonate greenhouse isn’t just about protecting your investment – it’s essential for maintaining a thriving garden throughout the cold season.
You’ll need to start preparations 4-6 weeks before the first frost to give yourself plenty of time to complete all necessary steps. From deep cleaning the polycarbonate panels to checking for gaps and adding extra insulation, a well-winterised greenhouse can help you continue harvesting fresh vegetables even when snow blankets the ground. With temperatures dropping as low as -6°C (20°F), proper preparation makes the difference between a productive winter garden and costly damage to both structure and plants.
Polycarbonate panels provide better insulation than traditional glass, helping to maintain a stable growing environment. The double-wall design traps heat, keeping the greenhouse warmer at night and reducing temperature swings between day and night. These panels also block harmful UV rays while allowing in beneficial light, creating ideal conditions for plant growth. With this insulation, polycarbonate greenhouses stay 3-5°C warmer than the outside, offering a protected space for plants to thrive.
| Feature | Benefit |
|---|---|
| Double-wall construction | Creates insulating air barrier |
| UV protection | Blocks 99.9% of harmful rays |
| Temperature retention | 3-5°C warmer than outside |
| Light transmission | 80% of visible light passes through |
The optimal time to winterise a polycarbonate greenhouse is during late autumn, between September and October. Key timing factors include:
This timing allows for:
Temperature monitoring becomes essential from October onwards as overnight temperatures start to fluctuate. Install thermometers at plant level to track temperature changes accurately.
Proper winterisation of a polycarbonate greenhouse requires specific materials and tools to ensure effective protection during cold months. Each component serves a distinct purpose in maintaining optimal growing conditions.
Twin-wall polycarbonate panels create an insulating air gap between layers, offering protection from cold temperatures. The following materials enhance thermal efficiency:
Clean surfaces maximise light transmission and prevent disease. Essential cleaning items include:
These tools enable proper installation and maintenance:
Each tool and material serves a specific function in the winterisation process, contributing to a protected and productive growing environment.

Regular inspection and timely repairs protect your polycarbonate greenhouse from winter damage. Focus on three critical areas to maintain structural integrity and optimal growing conditions.
Start a thorough inspection of your greenhouse frame before the first frost. Examine these components:
Identify and seal potential entry points for cold air and moisture:
Address panel issues promptly to maintain insulation:
| Component | Check For | Action Required |
|---|---|---|
| Frame | Rust corrosion | Clean and seal |
| Joints | Loose connections | Tighten bolts |
| Panels | Cracks or damage | Replace if needed |
| Seals | Air leaks | Apply new sealant |
| Fixings | Missing clips | Install replacements |
Start by completely emptying the greenhouse, removing all plants, tools, and growing accessories. Discard dead annual flowers, vegetables, and any leftover plant debris to keep the space clean and free from pests. Gather and store any unused pots, trays, and seasonal equipment to create a clutter-free environment. Pull out any weeds growing along the stone or gravel perimeter, and rake soil areas to remove fallen leaves and plant material. Finally, check and clear floor drains and channels to prevent blockages and ensure proper water drainage.
| Surface Type | Cleaning Method | Cleaning Solution |
|---|---|---|
| Panels | Soft brush | pH-neutral cleaner |
| Framework | Sponge/brush | Mild soap & water |
| Tools | Disinfectant | Bleach solution 1:10 |
| Floors | Sweep/rake | N/A |
Insulation methods enhance temperature control in polycarbonate greenhouses during winter months. The following techniques create effective thermal barriers while maintaining light transmission.
Horticultural bubble wrap creates an additional insulating layer inside polycarbonate greenhouses. Apply bubble wrap with large bubbles designed for UV resistance directly to the interior framework. The trapped air between the bubbles and greenhouse panels maintains temperatures 3-5°C above outside conditions. Position the wrap with bubbles facing the greenhouse panels for maximum insulation value.
Thermal screens provide adjustable temperature control throughout winter. Install screens horizontally above plant areas or vertically along the walls. The screens:
| Insulation Layer | Thickness | R-Value |
|---|---|---|
| Twin-wall Polycarbonate | 8mm | 1.72 |
| Foam Board | 50mm | 2.5 |
| Gravel Base | 100mm | 0.9 |
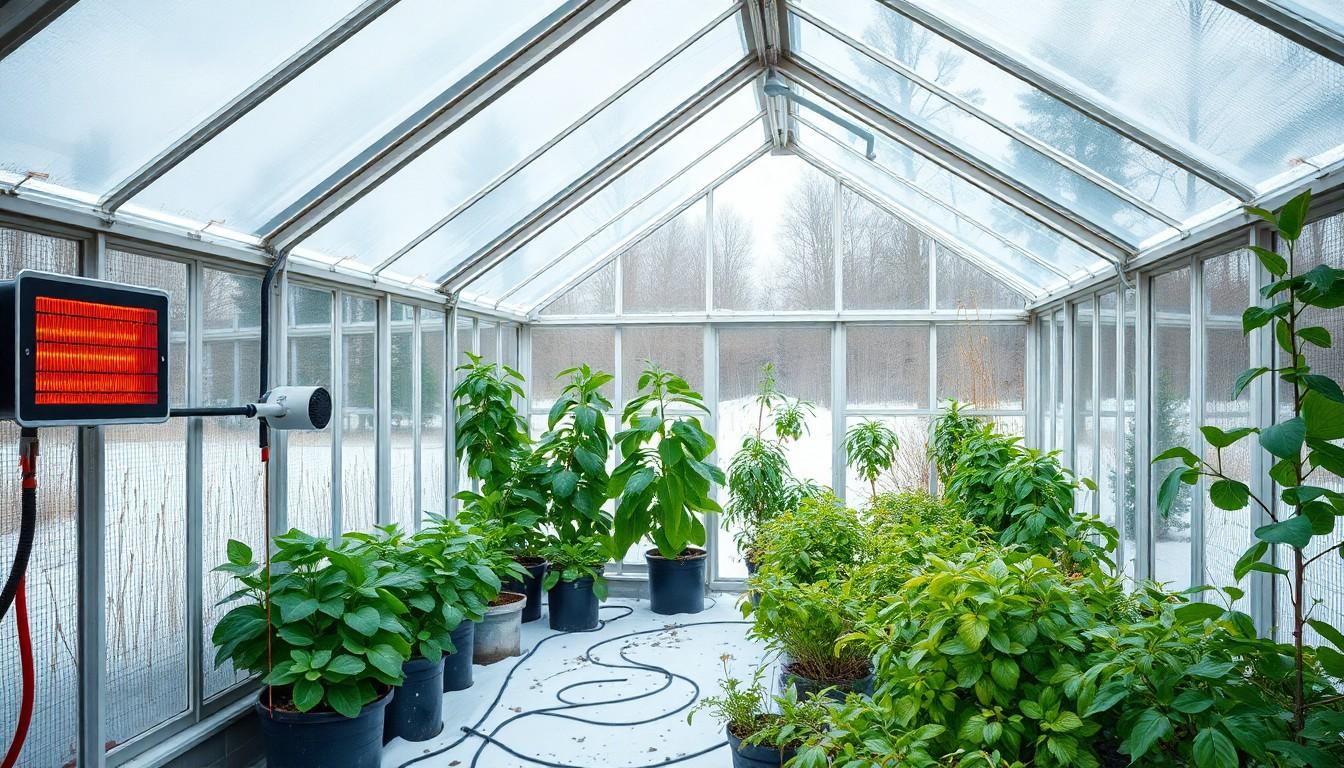
Managing temperature in a polycarbonate greenhouse requires a combination of heating systems thermal mass solutions and monitoring equipment.
Electric heaters provide consistent warmth throughout winter months with precise temperature control. Position heaters at ground level for optimal heat distribution. Connect heaters to thermostatic controls to maintain temperatures between 7-10°C.
Key heating solutions include:
Thermal mass materials store heat during the day and release it at night to stabilise greenhouse temperatures.
Effective thermal mass options:
Digital monitoring systems track temperature fluctuations to maintain optimal growing conditions.
| Temperature Monitoring Points | Optimal Range (°C) |
|---|---|
| Ground level | 10-15 |
| Plant height | 7-12 |
| Upper space | 5-10 |
| Outside comparison | -5 to 5 |
| Time of Day | Target Humidity Range |
|---|---|
| Daytime | 60-70% |
| Night | 75-85% |
| Morning | 65-75% |
Freezing temperatures pose significant risks to greenhouse water systems during winter. Proper protection prevents burst pipes and maintains essential water access for winter plants.
Apply foam pipe insulation or rubber coverings around exposed water pipes to prevent freezing. Leave no gaps in the insulation to block cold air penetration. For exterior pipes:
Drain and protect irrigation components before freezing temperatures arrive. Follow these steps:
| Component | Winter Protection Method | Temperature Range |
|---|---|---|
| Water pipes | Foam insulation | Above 0°C |
| Irrigation lines | Complete drainage | N/A |
| Active systems | Reduced operation | 7-10°C |
Effective winter plant care in a polycarbonate greenhouse combines selecting appropriate plants maintaining steady temperatures and managing moisture levels. Here’s how to protect and nurture your plants through the cold season.
Select plants based on their cold tolerance and ability to thrive in lower light conditions. Vegetables like kale chard and spinach survive temperatures down to -9°C. Hardy herbs such as parsley thyme and sage maintain growth at temperatures above 0°C.
| Plant Type | Minimum Temperature | Ideal Temperature Range |
|---|---|---|
| Cool-weather crops | -2°C | 7-13°C |
| Hardy perennials | 0°C | 10-16°C |
| Tropical plants | 10°C | 16-24°C |
| Citrus trees | 10°C | 16-21°C |
| Succulents | 4°C | 10-16°C |
Create multiple layers of defence to shield plants from cold damage:
Managing winter challenges in polycarbonate greenhouses requires addressing three critical issues: snow accumulation ice formation and temperature inconsistencies.
Snow accumulation creates excessive weight pressure on polycarbonate panels and greenhouse frames. Remove snow from the roof using a soft-bristled brush with an extended handle when depths exceed 10 cm. Install diagonal bracing across the frame joints to distribute weight evenly. Add vertical support posts at 1.2-metre intervals beneath the roof ridge to reinforce the structure.
Ice formation leads to structural stress and potential panel cracking. Monitor temperature fluctuations using a min-max thermometer to prevent ice buildup. Install heating cables along gutters and downspouts to maintain temperatures above freezing. Create a 15 cm gravel barrier around the greenhouse perimeter to improve drainage and reduce ice formation at ground level.
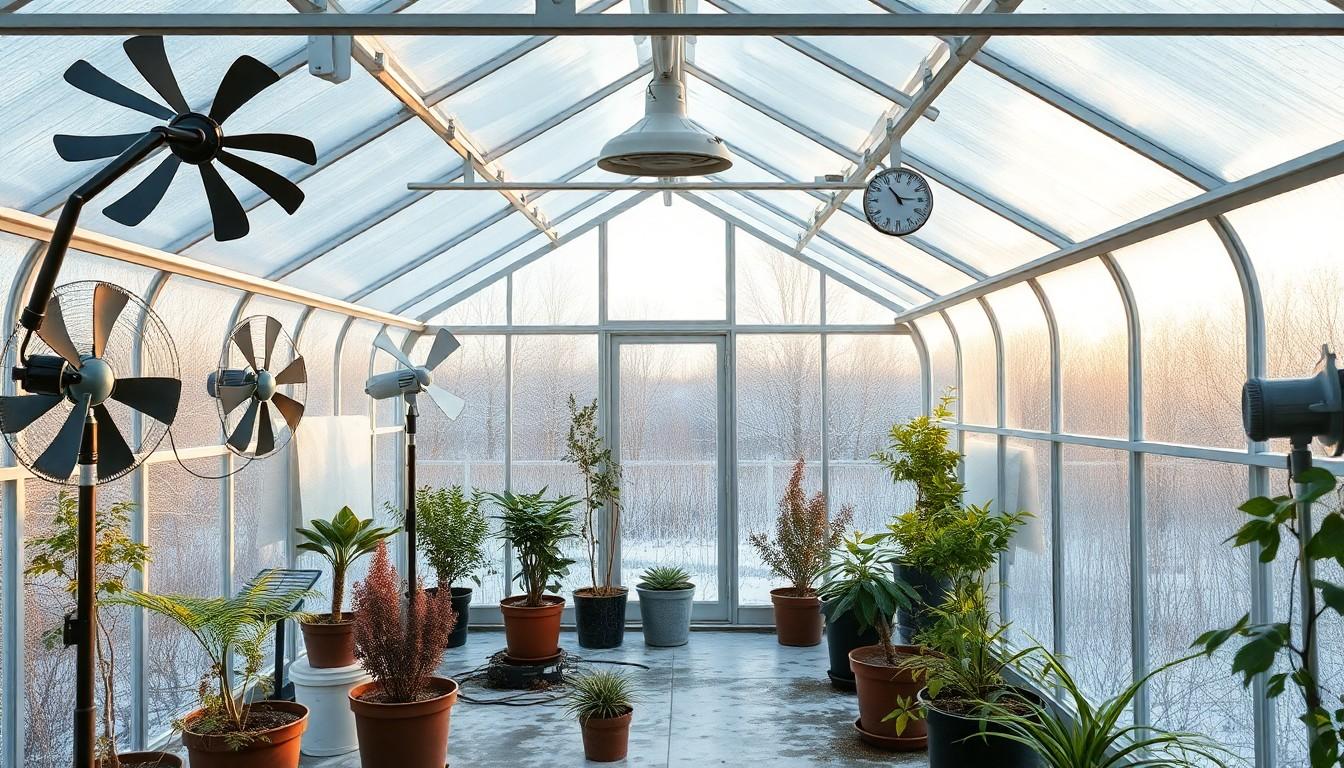
Cold spots occur from uneven heat distribution and poor air circulation. Place wireless temperature sensors at plant level to identify areas below 7°C. Install circulation fans at opposite corners to create continuous airflow patterns. Add thermal mass materials like water-filled containers near cold spots to stabilise temperatures. Position taller plants against north-facing walls to block cold drafts and create natural wind barriers.
| Temperature Management | Recommended Range |
|---|---|
| Minimum Night Temp | 7°C |
| Maximum Day Temp | 10°C |
| Cold Spot Alert Temp | Below 7°C |
| Snow Load Action Temp | 0°C with 10cm+ snow |
Taking care of your polycarbonate greenhouse during winter doesn’t need to be overwhelming. By following a systematic approach to winterisation you’ll protect both your greenhouse structure and your plants throughout the cold months.
Remember to start your winter preparations early and maintain regular checks on insulation heating and ventilation systems. You’ll find that a well-maintained greenhouse can extend your growing season significantly while providing a reliable shelter for your tender plants.
With proper care and attention your polycarbonate greenhouse will serve as a valuable gardening asset for many winters to come. Stay proactive with maintenance and you’ll enjoy the rewards of year-round growing regardless of the weather outside.
Start winterising your greenhouse 4-6 weeks before the first frost, typically between September and October. This timing allows for thorough cleaning, inspection, and installation of insulation materials whilst the weather is still manageable.
Maintain temperatures between 7-10°C. Use a digital thermometer placed at plant level to monitor temperatures accurately. Installing a min-max thermometer helps track temperature fluctuations throughout the day and night.
Apply horticultural bubble wrap to the interior framework, install thermal screens, and line perimeter walls with foam boards. Add gravel layers and create mulch barriers using straw or wood chips. These measures can maintain temperatures 3-5°C above outside conditions.
Use soft-bristled brushes, pH-neutral cleaning solutions, and mild soap for cleaning polycarbonate panels. For disinfecting surfaces, prepare a diluted bleach solution. Ensure all cleaning materials are non-abrasive to protect the panels.
Install circulation fans, maintain proper spacing between plants, and keep air intake vents clear. Combine ventilation with heating and use automatic vent openers. Remove standing water promptly and monitor humidity levels with a hygrometer.
Insulate water pipes with foam insulation and heat tape on vulnerable sections. Drain irrigation components and switch to hand watering for winter plants. Keep temperatures above 7°C around water pipes and monitor soil moisture levels regularly.
Choose cold-hardy plants that thrive in lower light and temperatures. Use row covers for extra protection and insulate pots. Common winter crops include kale, spinach, winter lettuce, and certain herbs. Water less frequently using room temperature water.
Remove excess snow regularly and reinforce the structure with diagonal bracing and vertical support posts. Monitor snow accumulation carefully, especially after heavy snowfall. Consider installing heating cables to prevent ice formation.
Learn how to choose your perfect first greenhouse with our expert guide. Discover size, materials, and features to extend your growing season by 2-3 months.
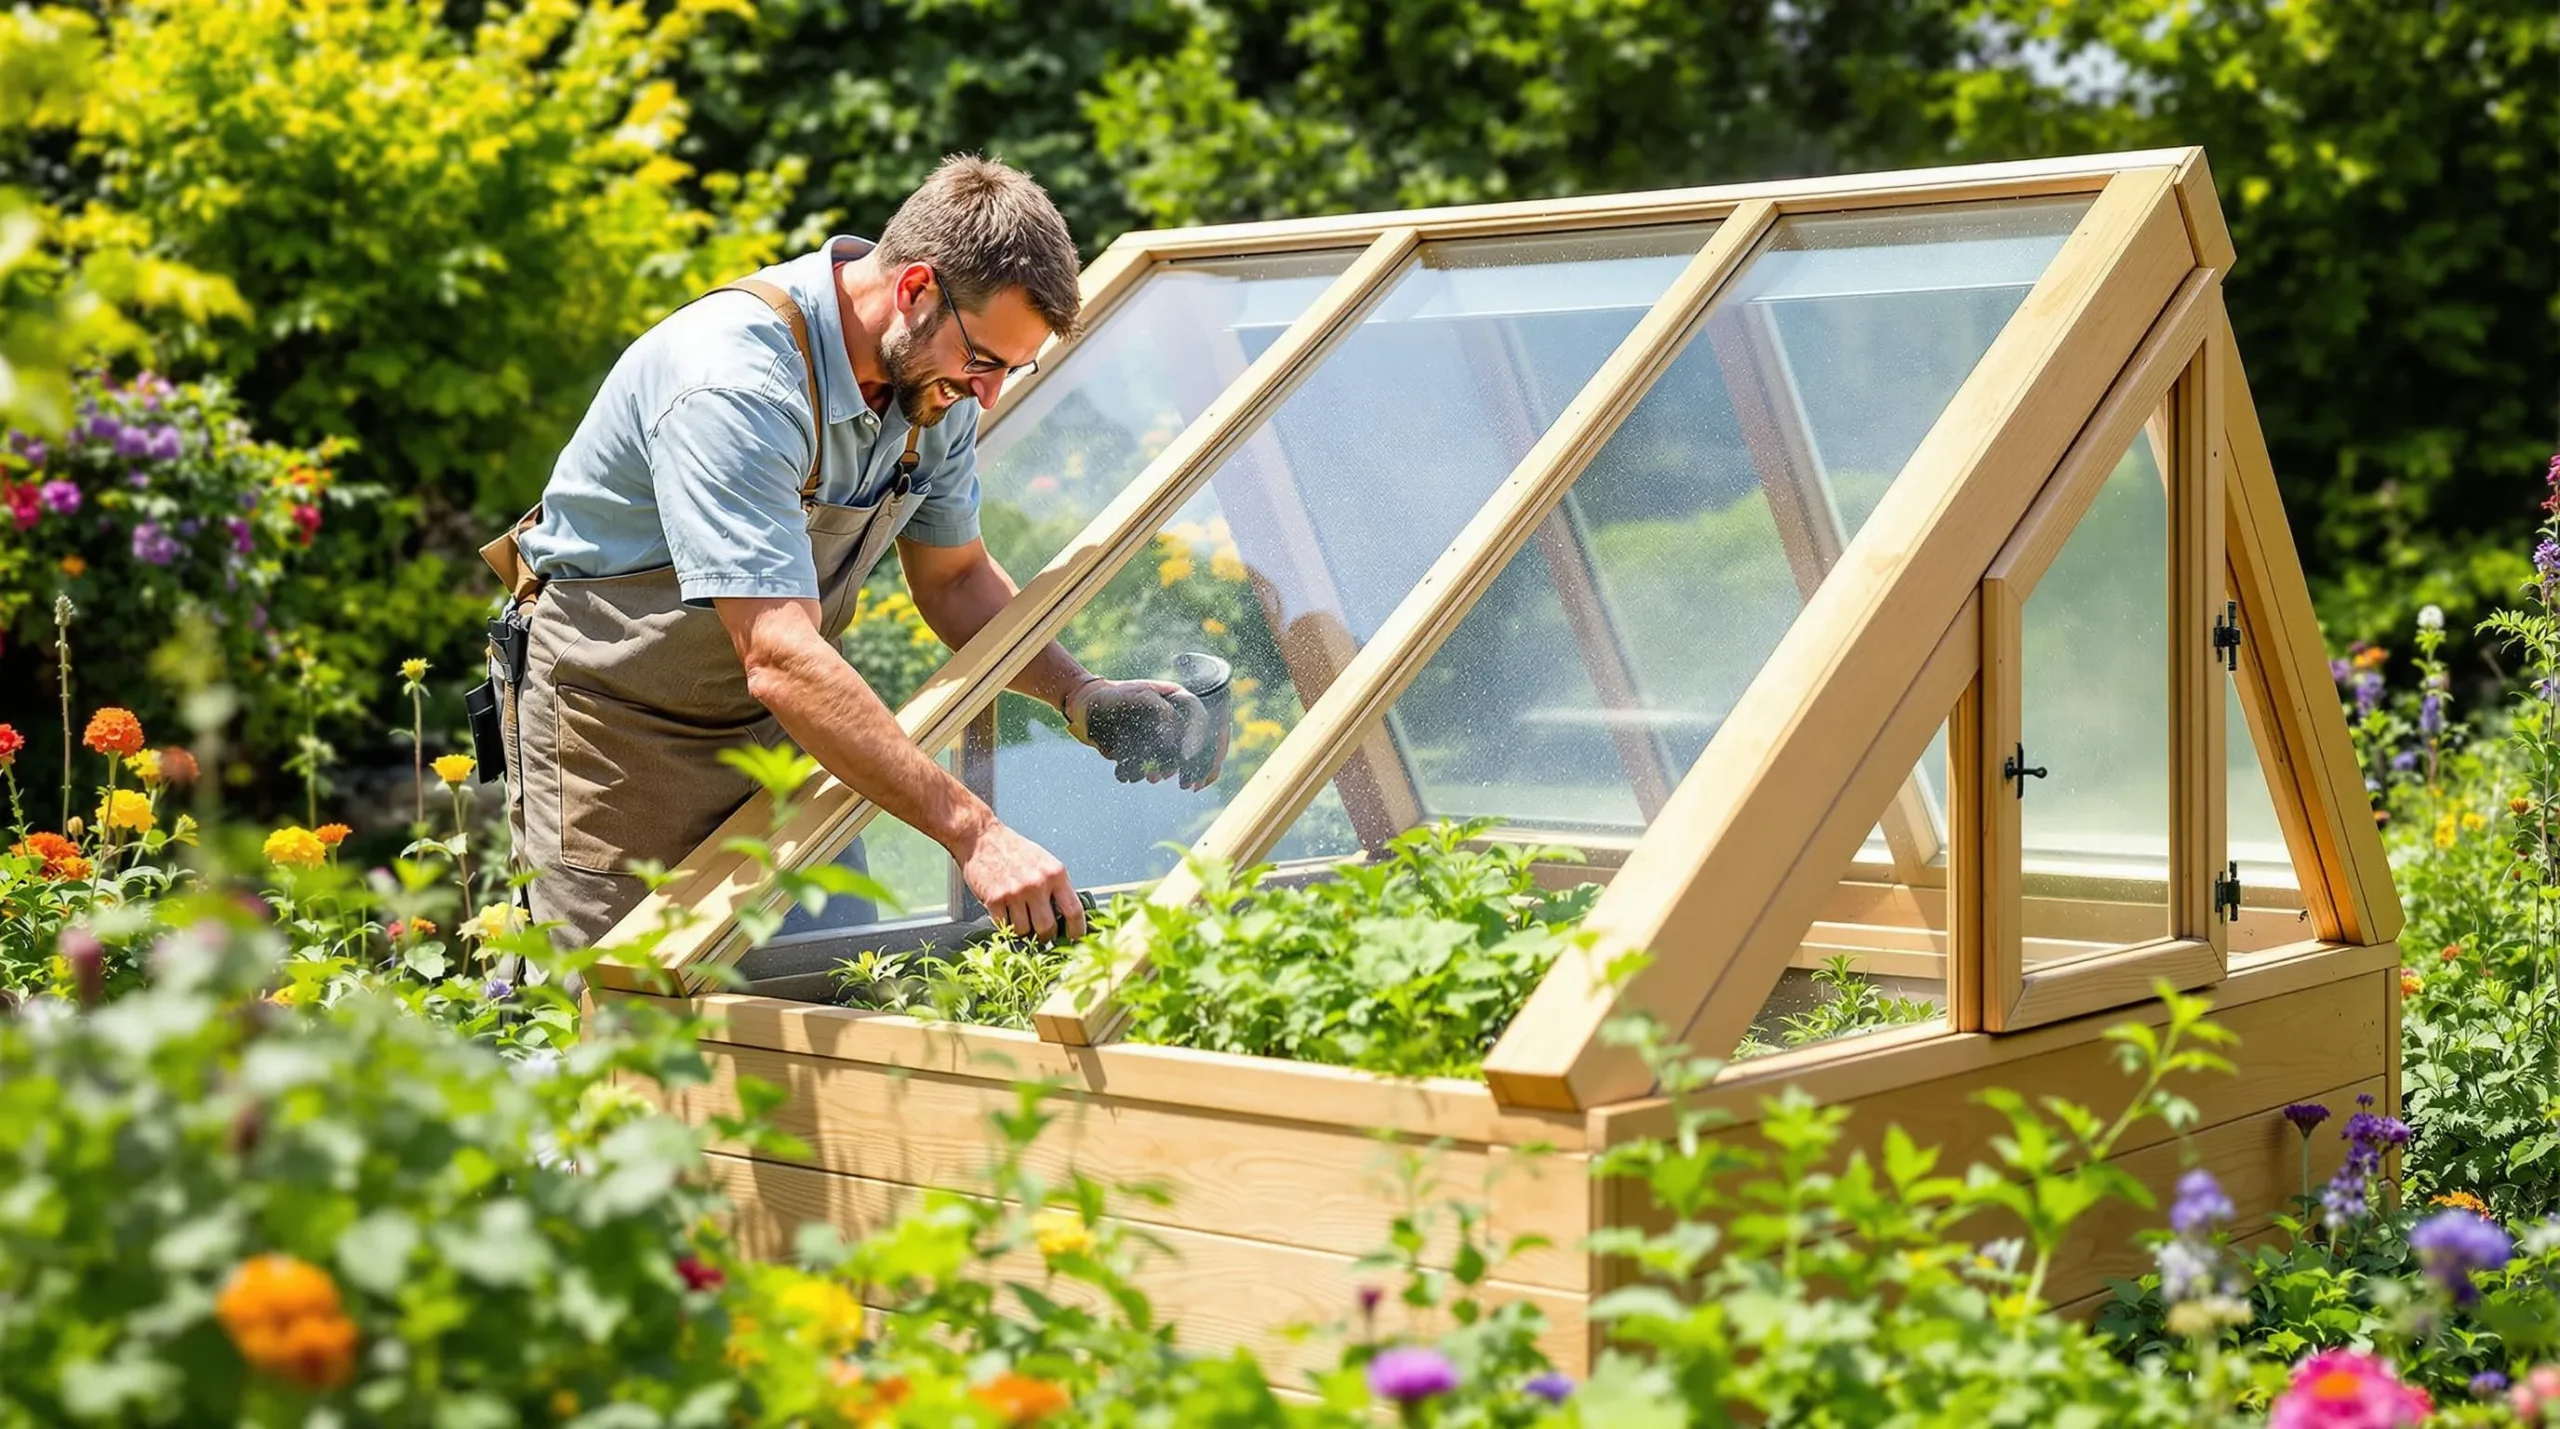
Learn how to make a cold frame to extend your growing season, protect plants in winter, and grow seedlings all year. Simple, cost-effective, and DIY-friendly!