Expert Guide: How to Assemble Polycarbonate Panels for Your Dream Greenhouse
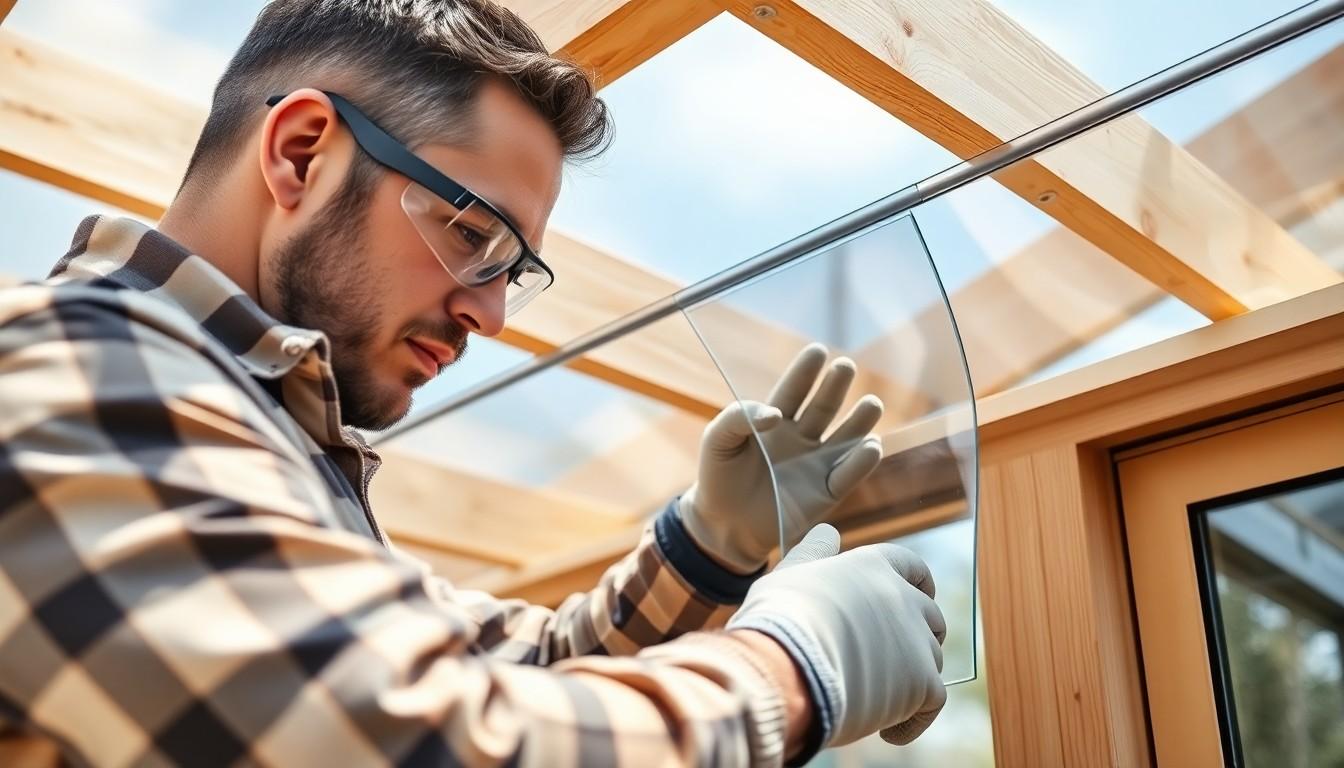
Building a sturdy greenhouse with polycarbonate panels requires careful planning and attention to detail. Whether you’re tackling a DIY project or upgrading your existing structure, proper installation techniques ensure your greenhouse withstands various weather conditions while maintaining optimal growing conditions inside.
Getting the installation right means focusing on crucial elements like precise measurements, proper frame preparation, and secure fastening methods. With the right tools and techniques, you’ll create a weather-resistant structure that’s built to last. From using neoprene-backed washers for cushioning to maintaining proper spacing between panels, every step plays a vital role in creating an effective greenhouse environment that’ll serve you well for years to come.
Key Takeaways
Polycarbonate panels combine exceptional strength with high light transmission, making them 200 times more durable than glass while allowing 85% of light to pass through—ideal for promoting plant growth.
For proper installation, you’ll need the right tools, such as a circular saw with a fine-tooth blade, measuring instruments, and essential safety gear like goggles and gloves.
Pre-installation preparation is important – panels must be stored in dry areas, handled with clean gloves, and measured precisely with 2-3 cm overlap between panels.
Installation follows a systematic process: frame preparation, precise cutting, support bar mounting, panel fixing with correct spacing, and thorough sealing with UV-resistant materials.
Frequent maintenance is the key to longevity – clean the panels with a mild soap solution, check them every three months, and keep an eye on the drainage channels, fixings and seals for best results.
What Are Polycarbonate Panels?
Polycarbonate panels are transparent thermoplastic sheets engineered for durability and light transmission. When building your polycarbonate greenhouse, these panels feature a unique combination of physical properties that make them ideal for greenhouse construction and outdoor applications.
Key characteristics of polycarbonate panels include:
Impact Resistance: 200 times stronger than glass with high resistance to breakage
Light Transmission: 85% transparency rate for optimal plant growth
Thermal Insulation: Double-wall construction provides enhanced temperature control
Weight: 6 times lighter than glass at 1.2 kg/m² for standard panels
Common types of polycarbonate panels:
Twin-wall Panels
Double-layer construction
Air gap for improved insulation
Standard thickness of 4-10mm
Bronze-tinted Panels
Controlled light diffusion
Enhanced UV protection
Heat reduction properties
Clear Panels
Maximum light transmission
Single-layer construction
Ideal for direct sunlight exposure
Panel Type
Light Transmission
Insulation Value (R)
Impact Resistance (J/m)
Twin-wall
80%
1.54
238
Bronze
65%
1.42
235
Clear
85%
0.98
230
These panels incorporate anti-condensation coatings and UV-protective layers on the exterior surface, marked by a protective film during installation. The panels connect through a tongue-and-groove system or overlap joints to create watertight seals.
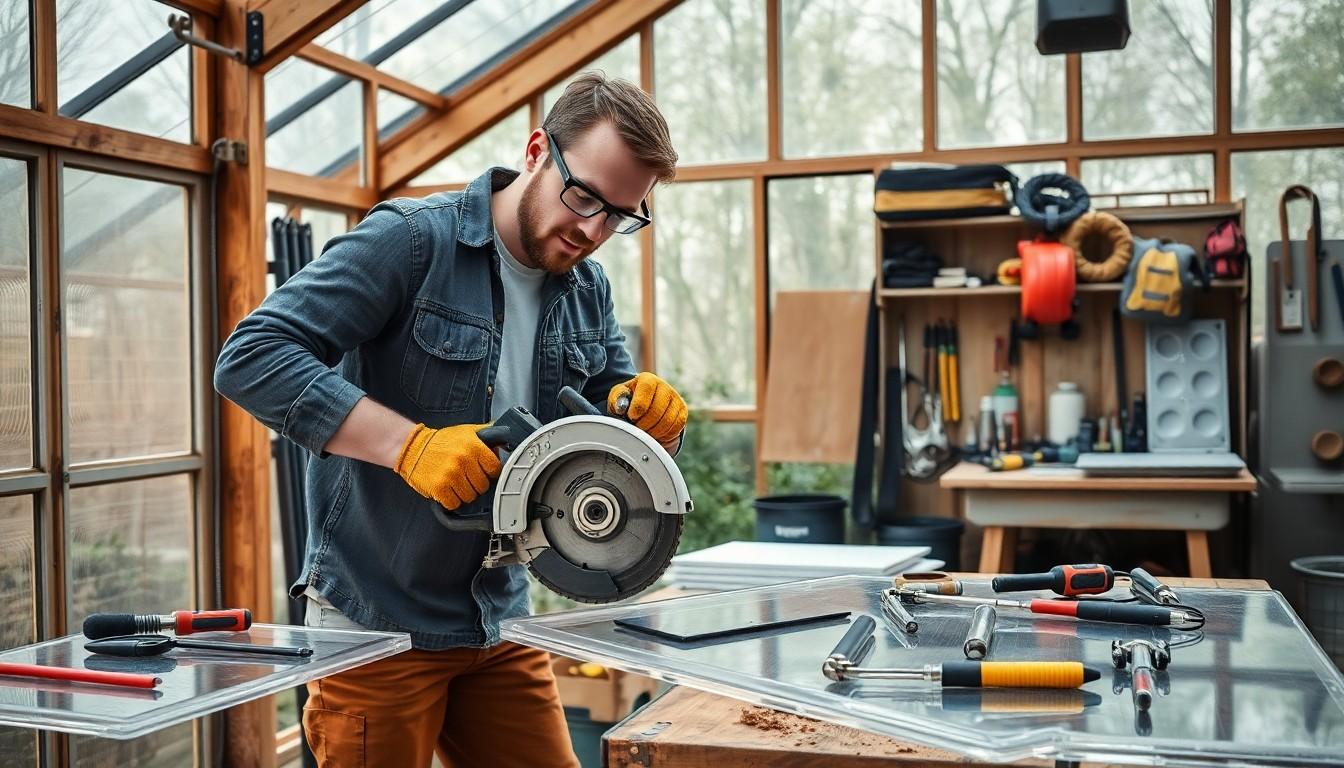
Required Tools and Materials to Assemble Your Greenhouse
Proper tools and materials ensure precise polycarbonate panel installation and enhance the durability of your greenhouse structure.
Essential Tools
Circular Saw: Cut polycarbonate sheets with a fine-tooth blade (8-12 teeth per inch) at 4000 RPM
Band Saw: Create clean cuts using a continuous toothed blade (10-18 teeth per inch) at 2500+ RPM
Jigsaw: Shape intricate cuts with a fine-tooth blade at medium speed
Power Drill: Make precise holes with multi-purpose drill bits
Measuring Equipment:
Tape measure
Metal ruler
Carpenter’s square
Marking pen
Safety Equipment:
Safety goggles
Work gloves
Steel-toed boots
Dust mask
Materials Needed
Polycarbonate Panels:
Twin-wall panels (standard)
Bronze-tinted panels (heat reduction)
Clear panels (maximum light)
Fastening Components:
Neoprene-backed washers
Self-drilling screws
Panel clips
H-channels
Sealing Materials:
UV-resistant silicone sealant
Foam tape
End caps
Anti-dust tape
Support Materials:
Base rails
Corner brackets
Support battens
Panel joiners
Each material specification aligns with standard greenhouse construction requirements and ensures optimal panel installation.
Pre-Installation Preparation
Proper preparation forms the foundation for successful polycarbonate panel installation. Follow these storage, handling and planning guidelines to ensure optimal results.
Storage and Handling
Store polycarbonate panels in specific ways to maintain their quality before installation:
Keep panels in a dry covered area away from direct sunlight to prevent material degradation
Place panels on a flat horizontal surface with support underneath
Position the UV-protected side (marked with protective film) facing upward
Use clean cotton gloves when handling to avoid fingerprints and scratches
Transport panels vertically to reduce flexing and potential damage
Remove protective film only during final installation steps
Measuring and Planning
Take precise measurements and plan the installation layout carefully:
Measure the installation area twice, recording:
Total width and height of the surface
Distance between support beams/rafters
Locations of any obstacles or openings
Calculate panel requirements:
Add 2-3 cm overlap between panels
Include 1.5 cm expansion gap at panel edges
Account for 5% extra material for cuts and mistakes
Create an installation diagram showing:
Panel placement and orientation
Location of fasteners
Overlap directions for water drainage
Required cutting measurements
Measurement Type
Recommended Clearance
Panel Overlap
2-3 cm
Edge Expansion Gap
1.5 cm
Extra Material Buffer
5%
Note: The UV-protective film shields panels from radiation damage during storage and handling. Ensure this layer faces outward during final installation.
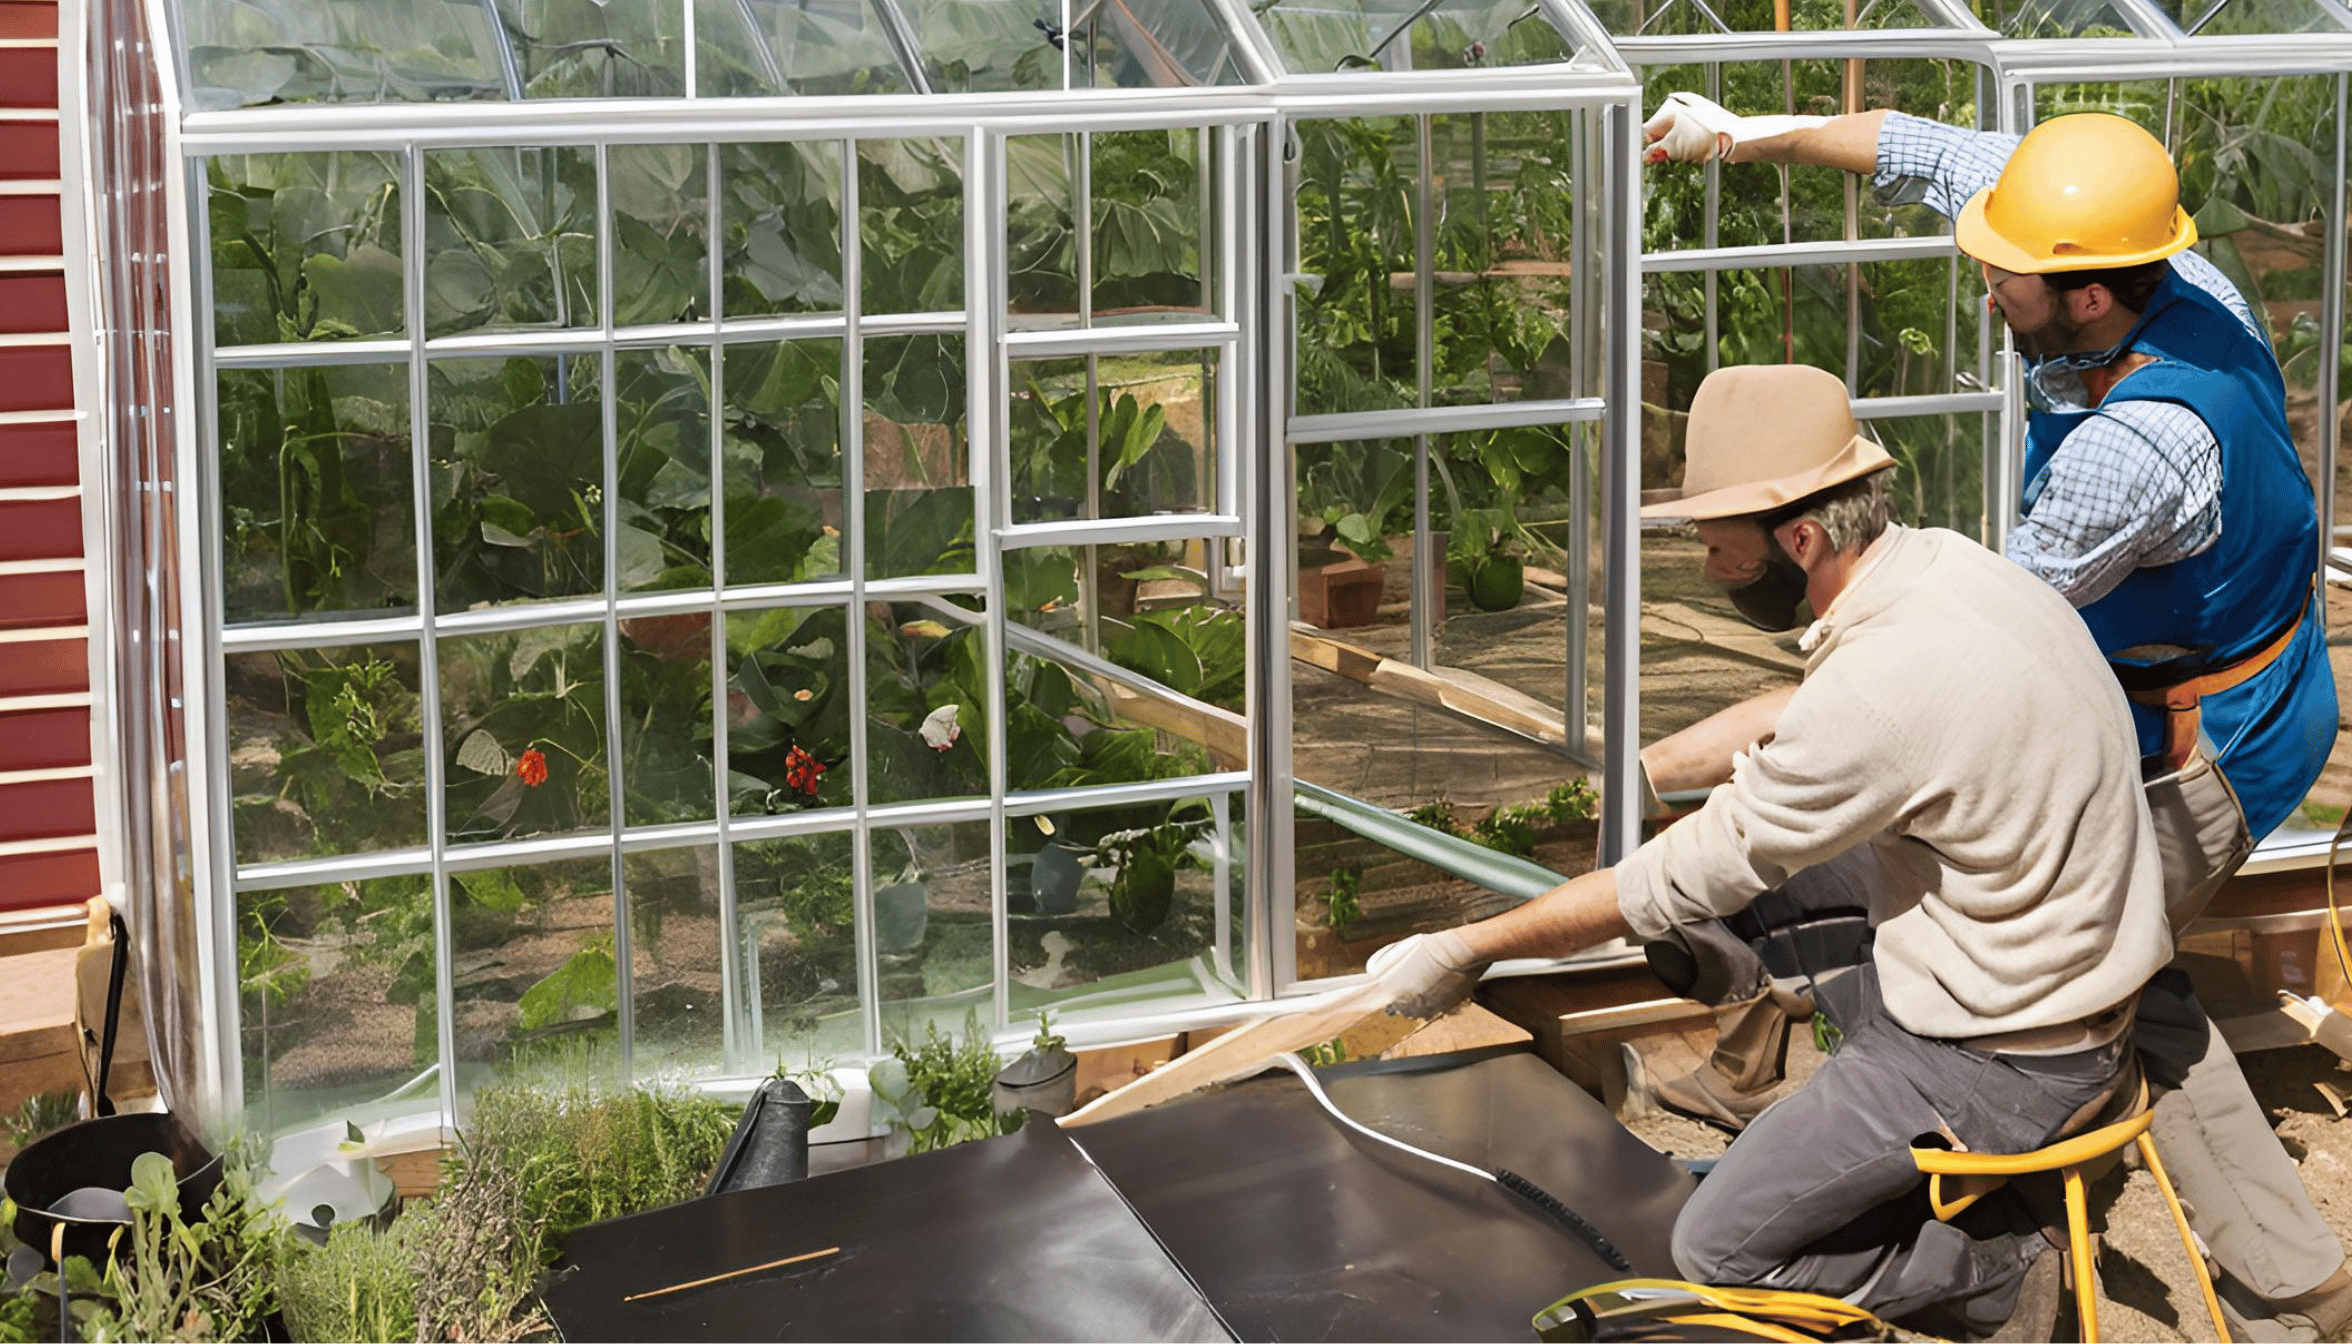
Installation Process
The installation of polycarbonate panels requires a systematic approach to ensure proper fitting and longevity. Follow these steps for optimal results.
Preparing the Frame
Clean the roof structure thoroughly with a broom or pressure washer to remove debris. Inspect each support beam for stability and structural integrity. Space the supports at 600mm intervals to provide adequate panel reinforcement.
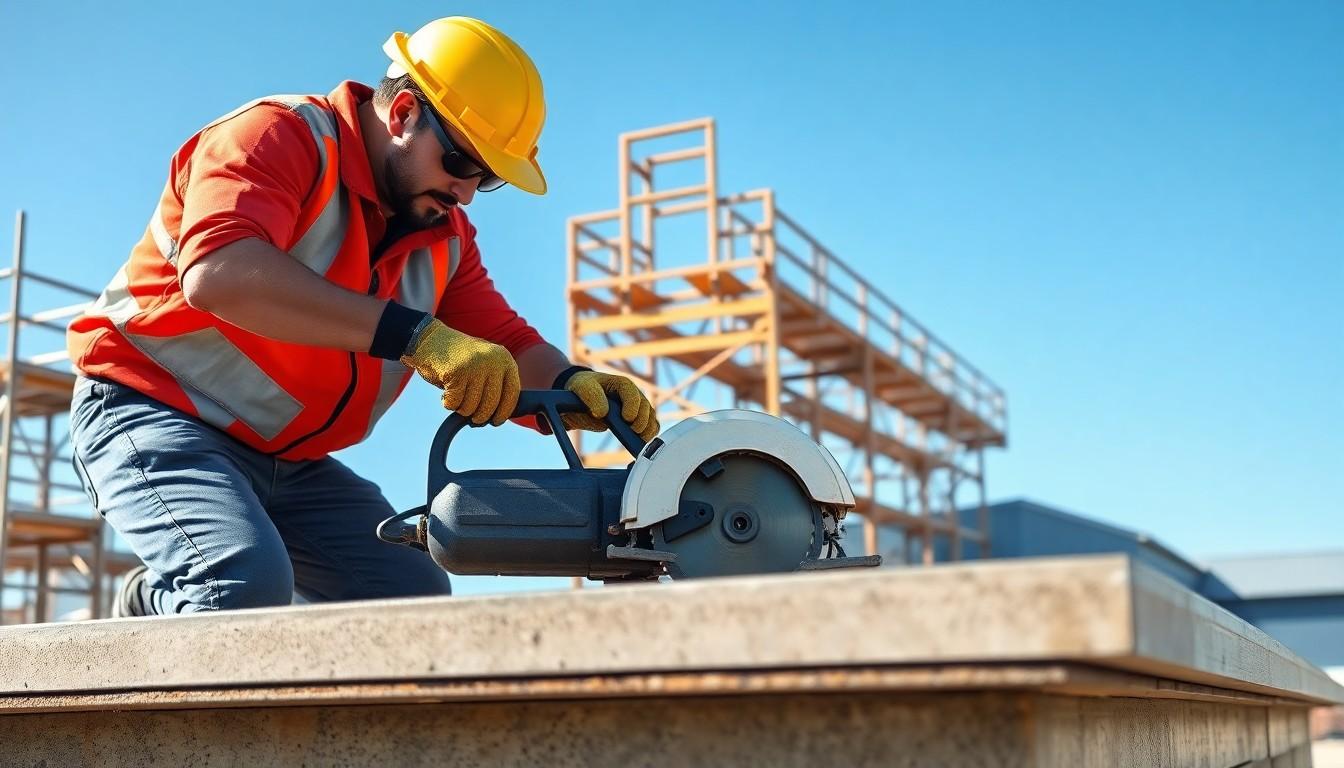
Cutting Panels to Size
Place the polycarbonate sheet on a flat surface
Secure with wooden clamps to prevent movement
Mark cutting lines with a tape measure and marker
Cut using a circular saw with these specifications:
Blade: 60+ teeth per 10 inches
Speed: 3400 RPM for straight cuts
Feed rate: Slow and steady
Use a jigsaw or bandsaw
Set bandsaw speed to 7500 RPM
Maintain consistent material feed rate
Installing Support Bars
Position base rails at 90-degree angles
Attach support bars vertically at 600mm centres
Fix horizontal purlins:
At eaves
At ridge
At intermediate positions
Secure all components with stainless steel screws
Mounting the Panels
Start from the bottom edge
Install panels with ribs running along the slope
Pre-drill holes:
1.6mm larger than fastener diameter
Use metal drill bits
Keep 4mm minimum edge distance
Secure panels:
Place one fixing button per sheet width
Position centrally between glazing bars
Add extra fixings at eaves to prevent wind uplift
Sealing and Finishing
Apply UV-resistant silicone sealant:
Along panel joints
Around fixings
At frame intersections
Install closure strips at panel ends
Add anti-dust tape at open ends
Check all fixings are secure but not overtightened
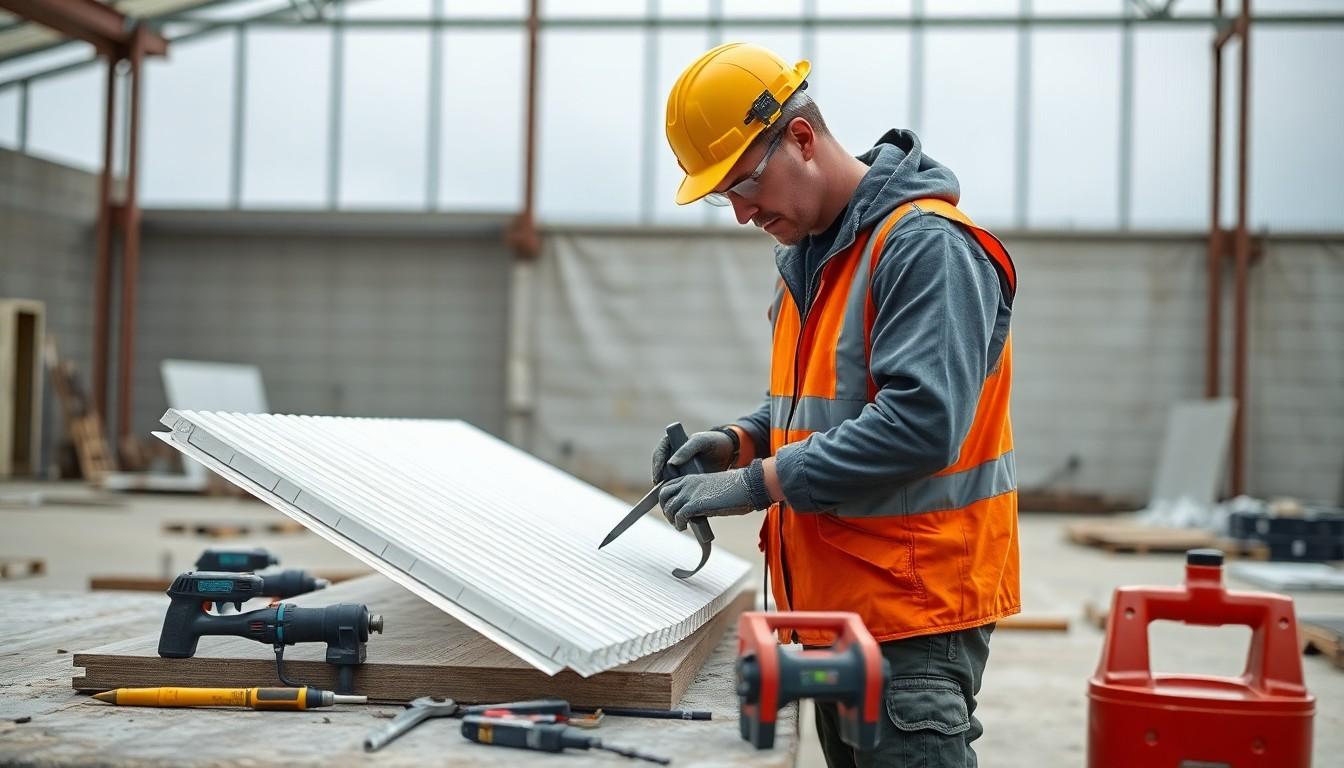
Working with Different Panel Types
Polycarbonate panels come in distinct configurations, each requiring specific installation methods for optimal performance and durability.
Corrugated Panels
Corrugated polycarbonate panels feature wave-like ridges that provide structural strength and enhanced water drainage.
Installation steps for corrugated panels:
Cut panels with a fine-toothed circular saw on a flat surface
Pre-drill holes 10% larger than screw diameter for thermal expansion
Position panels with UV-protected side facing outward
Install fasteners on crest corrugations for rooftop applications
Apply sealing tape over sidelap corrugation crests for multi-panel runs
Installation requirements:
Minimum slope: 5 degrees
Recommended slope: 10% (1:10) or 5-7 degrees
Panel direction: Start installation from the side opposite to prevailing wind
Closure strips: Install foam polyethylene or EVA strips at panel edges
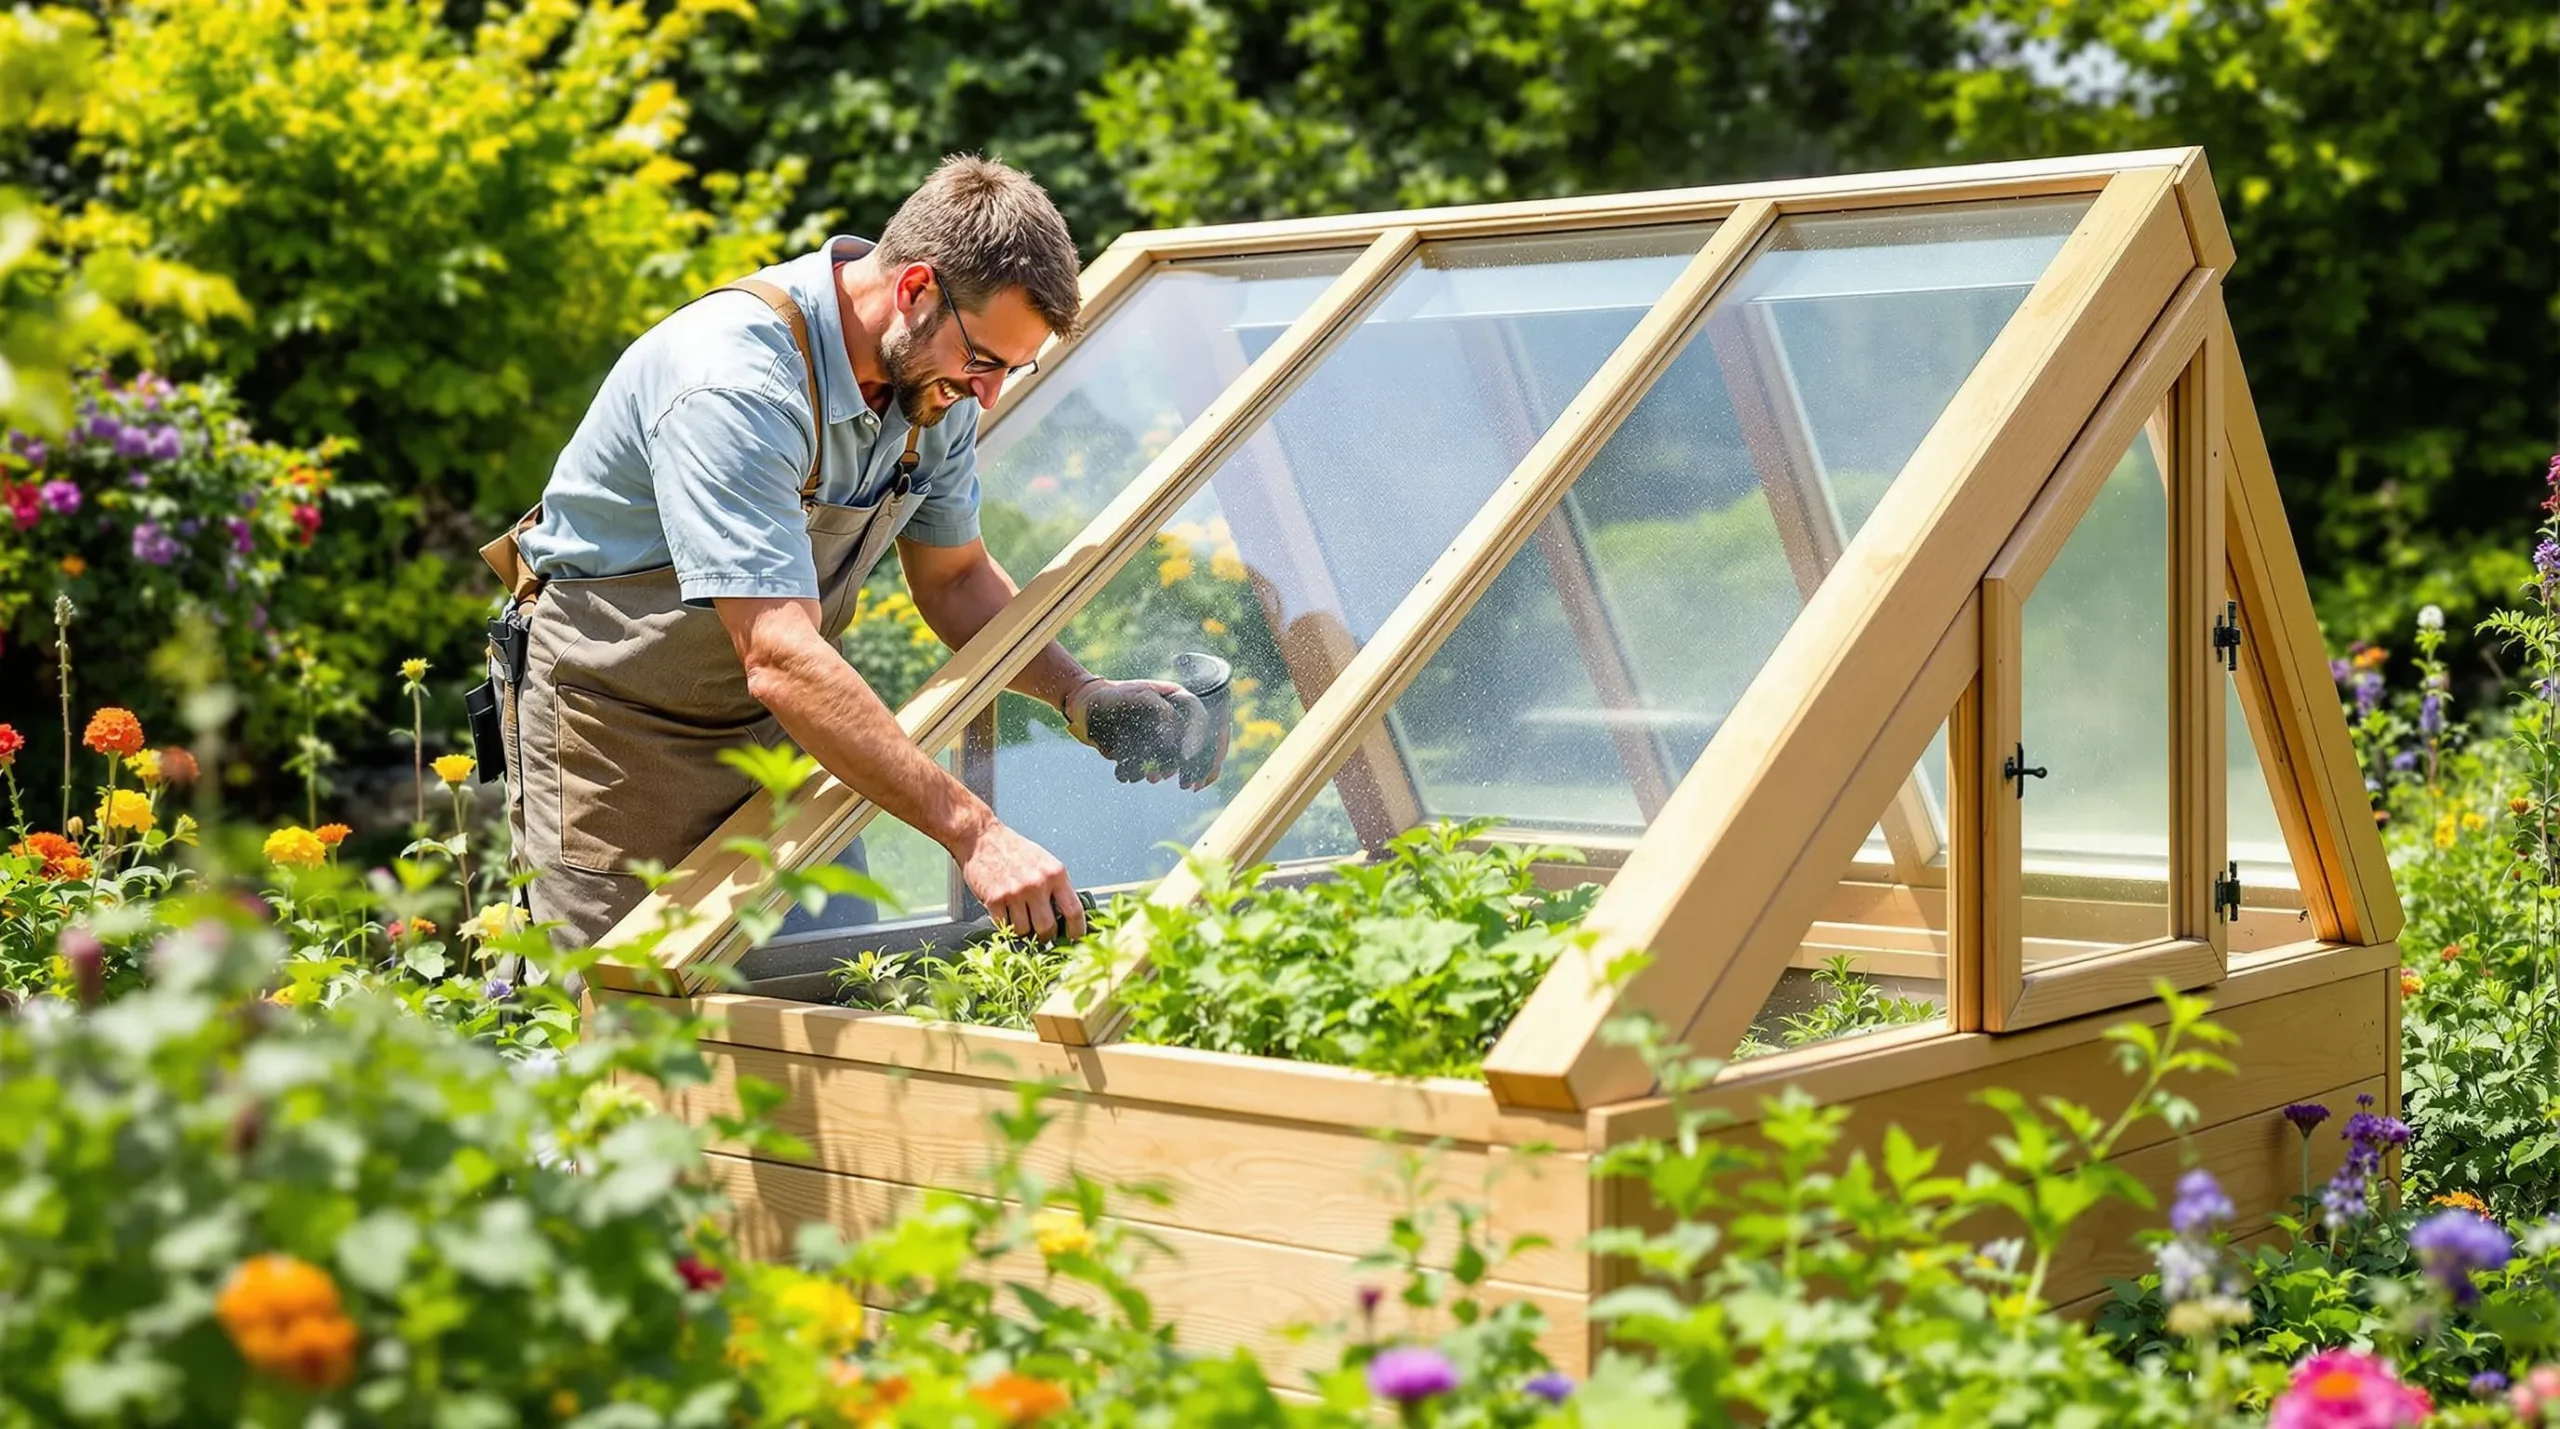
Using Multi-wall Panels To Assemble Your Greenhouse
Multi-wall polycarbonate panels consist of parallel sheets connected by internal ribs, creating insulating air chambers.
Key installation considerations:
Install vertical supports at 600mm intervals
Place panels with UV-protected side facing outward
Connect panels through tongue-and-groove system
Allow 3mm per metre expansion gap between panels
Use compatible fasteners with neoprene washers
Panel orientation:
Vertical ribs: Install parallel to water flow
Support spacing: Maximum 600mm centres
Edge sealing: Apply UV-resistant tape to exposed edges
Connection method: Use H-profiles for panel joints
Important Safety Considerations
Safe assembly of polycarbonate panels requires specific precautions and proper equipment to prevent accidents and ensure successful installation.
Handling Precautions
Proper handling techniques protect both the installer and the polycarbonate panels during assembly:
Put on protective gloves and safety glasses before handling panels
Keep the work area clear of obstacles and debris
Place panels on a flat clean surface during preparation
Transport panels in a vertical position to prevent bending or warping
Remove protective film only after installation to prevent scratches
Installation Safety
The installation process demands specific safety measures to protect against falls and injuries:
Remove loose dirt using a soft brush or compressed air
Mix mild soap with lukewarm water in a bucket
Wash panels with a soft microfibre cloth or sponge
Rinse thoroughly with clean water
Dry with a soft lint-free cloth
Avoid these cleaning practices:
Using abrasive cleaners or brushes
Applying pressure washers
Cleaning panels in direct sunlight
Using alkaline or ammonia-based products
Wiping panels when dry
Regular Inspections
Check these elements every 3 months:
Panel joints for gaps or separation
Fasteners for proper tightness
UV protective film for peeling or damage
Edge seals for deterioration
Support profiles for stability
Drainage channels for blockages
Test all fixings by hand to confirm security
Look for scratches or cracks in the panels
Check sealing strips remain flexible and intact
Verify proper panel alignment
Clear debris from panel surfaces
Maintenance Task
Frequency
Required Tools
Basic cleaning
Monthly
Soft cloth microfibre sponge
Deep cleaning
Quarterly
Mild soap water solution
Full inspection
Every 3 months
Basic hand tools
Sealant check
Bi-annually
Visual inspection
Common Problems and Solutions
Polycarbonate panel installation presents specific challenges that require precise solutions for optimal performance and longevity.
Installation Issues
Expansion and Contraction Effects: Pre-drill oversized holes at 2mm larger than screw diameter to allow panel movement. Use large rubber washers to seal holes and prevent water penetration.
Panel Distortion:
Keep panels 5mm away from fixed points
Install support bars at 600mm intervals
Avoid overtightening screws
Use neoprene-backed washers for cushioning
Webbing During Installation:
Reduce heating cycle time by 15%
Apply take-up blocks at stress points
Maintain forming temperature below 250°F
Weather-Related Problems
Weather Issue
Impact
Solution
Temperature Changes
Panel buckling
Allow 3mm/m expansion gap
Rain
Water infiltration
Apply UV-resistant silicone sealant
High Winds
Panel stress
Install additional support bars
Temperature Fluctuations:
Monitor panel expansion joints every 3 months
Clean drainage channels regularly
Replace damaged seals immediately
Moisture Issues:
Check sealing strips after heavy rainfall
Clear guttering systems monthly
Apply anti-condensation coating annually
Wind Resistance:
Secure loose fixings at first sign of movement
Install wind braces at 45-degree angles
Tips for Best Results
Building your greenhouse with polycarbonate panels requires attention to detail and careful execution. Following the proper installation techniques while maintaining safety protocols will ensure a durable and efficient structure that serves you well for years to come.
Remember to check your measurements twice before cutting and always allow for thermal expansion in your panels. Use appropriate tools and protective gear and don’t rush the process. A well-installed greenhouse isn’t just about the end result – it’s about taking the right steps to get there.
Your efforts in proper assembly will pay off with a sturdy greenhouse that provides the perfect environment for your plants to thrive while standing up to various weather conditions.
Frequently Asked Questions
What tools are required for assembling polycarbonate panels for your greenhouse?
Essential tools include a circular saw, band saw, jigsaw, power drill, measuring tape, and carpenter’s square. Safety equipment like goggles and work gloves is crucial. You’ll also need specialised fasteners such as neoprene-backed washers and self-drilling screws for secure installation.
How should polycarbonate panels be stored before installation?
Store panels in a dry, covered area away from direct sunlight. Use clean cotton gloves when handling and transport panels vertically to prevent damage. Proper storage helps maintain panel quality and prevents warping or scratching before installation.
What is the recommended spacing between support beams?
Support beams should be spaced at 600mm intervals for optimal structural support. This spacing ensures proper load distribution and prevents panel sagging whilst maintaining the greenhouse’s structural integrity.
How do you seal polycarbonate panels properly?
Use UV-resistant silicone sealant for all joints and connections. Apply sealant along panel edges and where panels meet the frame. Ensure proper application of closure strips and maintain appropriate spacing for thermal expansion.
What maintenance is required for polycarbonate panels?
Conduct regular inspections every three months to check for loose fasteners, damaged seals, and blocked drainage channels. Clean panels with mild soap and soft cloths, avoiding abrasive cleaners. Regular maintenance helps extend panel lifespan and preserve optical clarity.
How do you handle thermal expansion in polycarbonate panels?
Pre-drill oversized holes and maintain appropriate spacing between panels to accommodate thermal expansion. Use proper mounting techniques and ensure panels have room to expand and contract with temperature changes.
What safety measures should be taken during installation?
Wear appropriate safety gear including gloves, goggles, and safety boots. Use stable scaffolding and maintain three points of contact on ladders. Work with a partner and secure tools to prevent dropping hazards.
How often should polycarbonate panels be cleaned?
Perform basic cleaning monthly using mild soap and water. Schedule deep cleaning quarterly to remove stubborn dirt and check for damage. Avoid cleaning in direct sunlight and never use abrasive materials.
Learn how to choose your perfect first greenhouse with our expert guide. Discover size, materials, and features to extend your growing season by 2-3 months.
Learn how to make a cold frame to extend your growing season, protect plants in winter, and grow seedlings all year. Simple, cost-effective, and DIY-friendly!