
How to Choose Your First Greenhouse: A Complete Beginner’s Guide for 2025
Learn how to choose your perfect first greenhouse with our expert guide. Discover size, materials, and features to extend your growing season by 2-3 months.
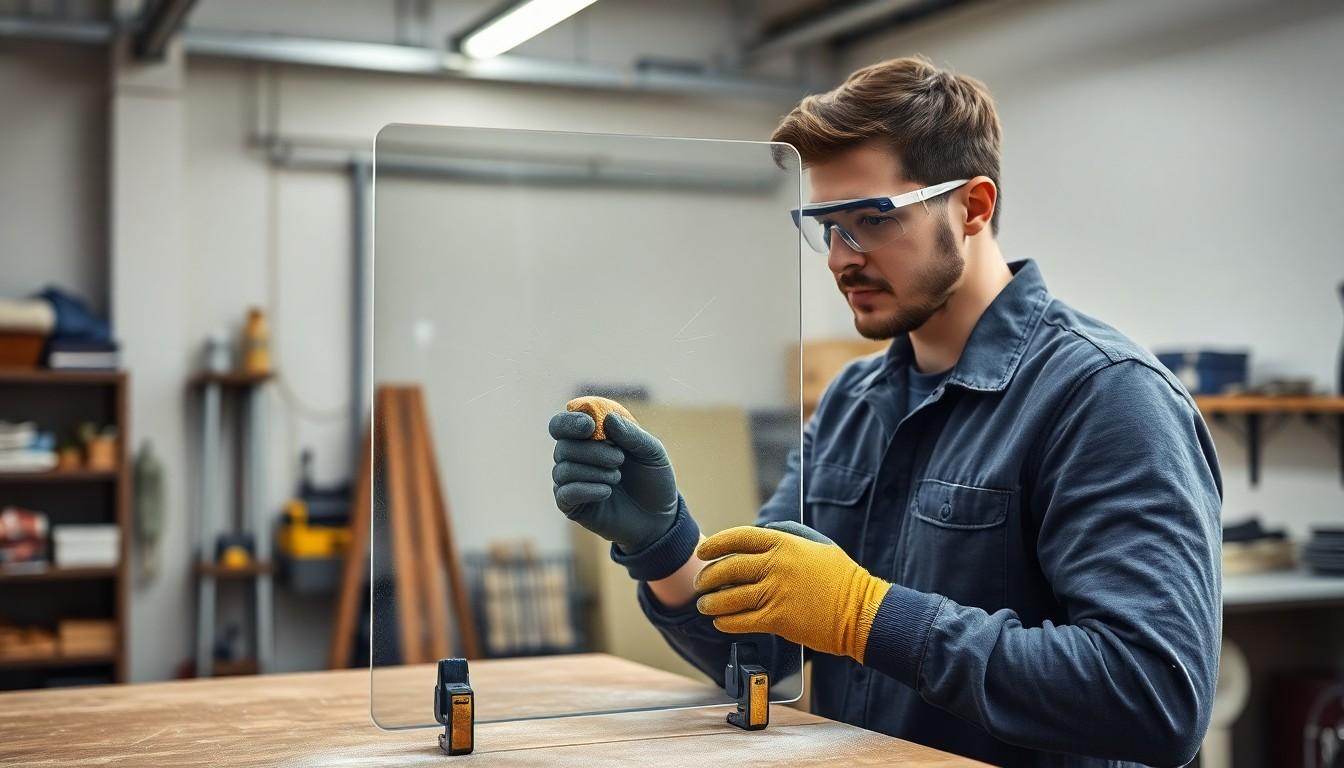
Polycarbonate sheets stand out as a remarkable building material, prized for their exceptional durability and crystal-clear transparency. Yet even these robust surfaces aren’t immune to daily wear and tear, with scratches being a common issue that can mar their appearance and functionality.
You’ll be pleased to know that repairing scratched polycarbonate sheets doesn’t require professional expertise or expensive tools. With some basic supplies like fine-grit sandpaper, buffing compound and a bit of patience, you can restore your polycarbonate surfaces to their former glory. Whether you’re dealing with minor surface scratches or deeper marks, there’s a straightforward solution that’ll help maintain the integrity and appearance of your sheets.
Polycarbonate sheets stand out as a remarkable building material, reputed for their exceptional durability and crystal-clear transparency. However, every now and then they may experience some wear and tear, being exposed to the elements and other possible damages.
Polycarbonate sheets experience three primary types of damage:
The decision between repair and replacement depends on specific damage factors:
| Damage Type | Repair Cost (% of replacement) | Expected Repair Lifespan |
|---|---|---|
| Light Scratches | 15-20% | 5-7 years |
| Deep Gouges | 30-40% | 3-5 years |
| Single Cracks | 25-35% | 2-4 years |
Repairing damaged polycarbonate sheets requires specific tools materials and safety equipment for effective results. Here’s a complete list of what you need:
Note: All measurements and tools specifications align with UK standards.
Proper preparation ensures effective repair of damaged polycarbonate sheets. Follow these systematic steps for optimal results.
| Tool Type | Specification | Purpose |
|---|---|---|
| Gloves | Chemical-resistant | Protection from cleaning agents |
| Goggles | Impact-resistant | Eye protection during repairs |
| Dust Mask | P2/N95 rated | Protection from sanding particles |
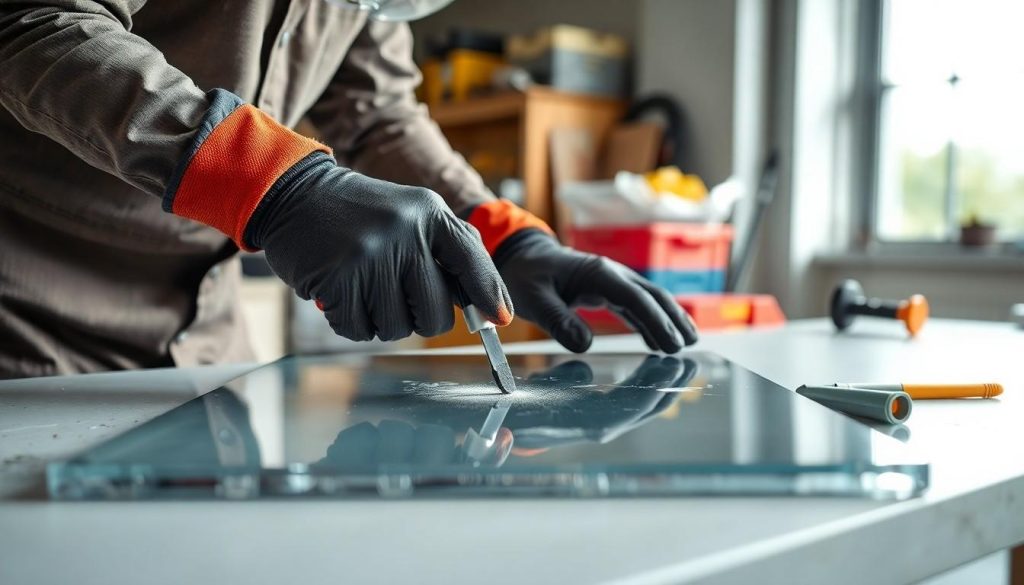
Small damages in polycarbonate sheets include minor scratches, holes and hairline cracks. Each type of damage requires specific repair techniques using common household items and basic tools.
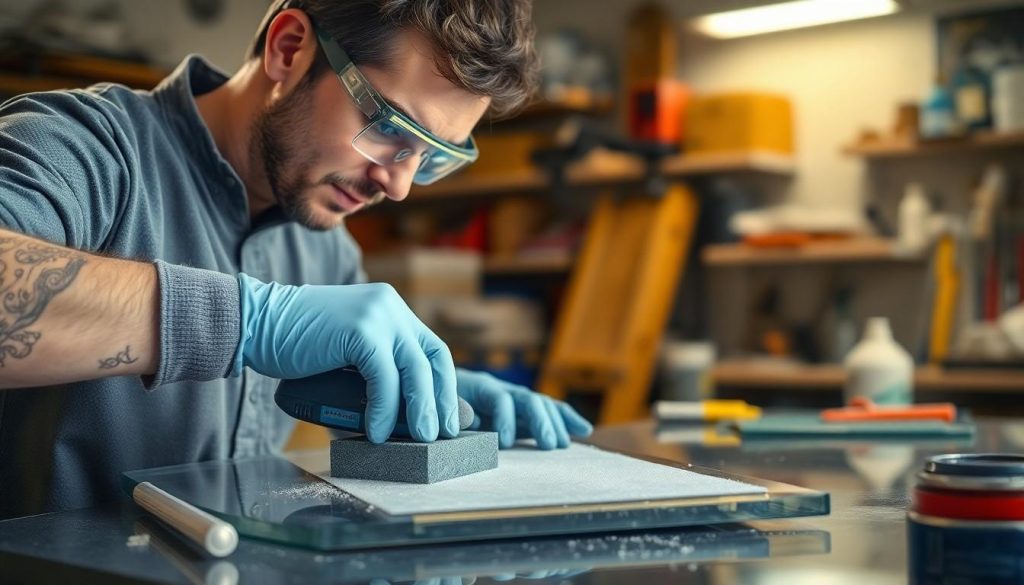
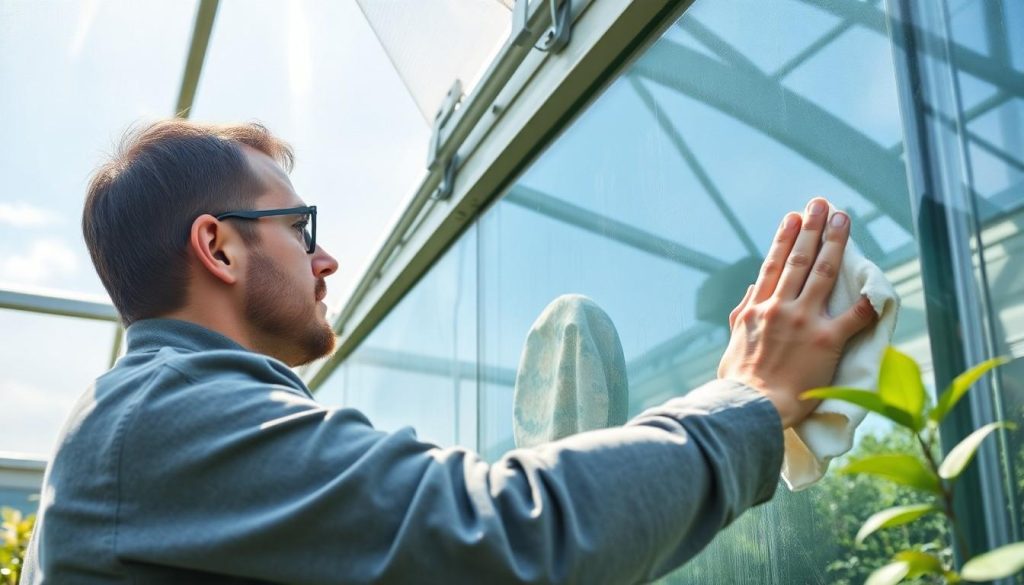
Clean the scratched area with water and mild dish soap using a soft microfibre cloth. Sand the scratch in circular motions with 400-grit sandpaper, applying light pressure to avoid surface damage. Apply a small amount of buffing compound or non-abrasive toothpaste to the sanded area with a clean cloth, rubbing in circular motions until the scratch disappears.
Remove debris from the hole and surrounding area with a soft brush. Cut a patch from repair tape or polycarbonate material 2.5 cm larger than the hole on all sides. Sand the edges of the hole smooth with 400-grit sandpaper. Apply silicone sealant around the hole edges and press the patch firmly into place. Allow 24 hours for the sealant to cure completely.
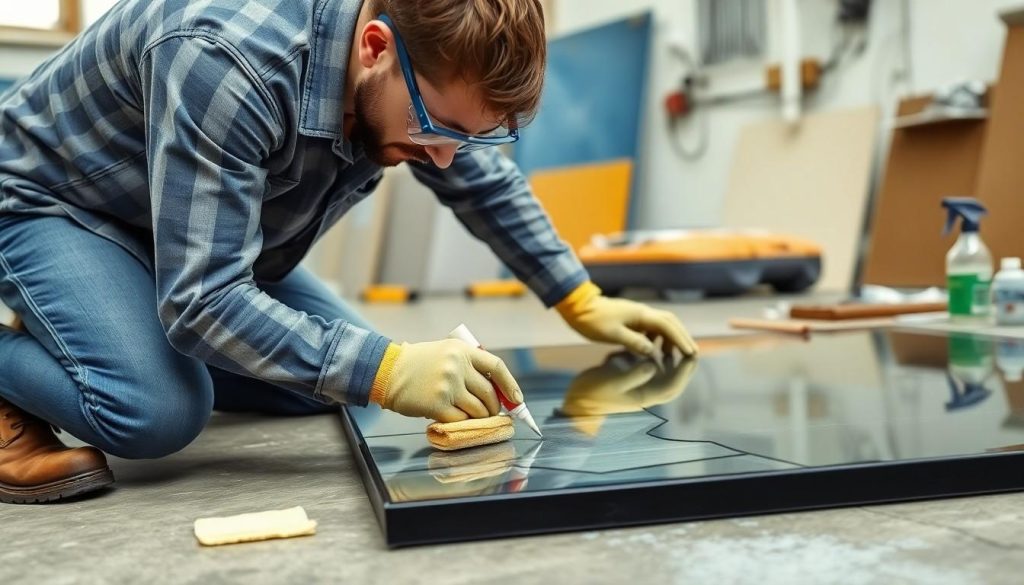
Clean the cracked area thoroughly with soapy water and dry completely. Sand both sides of the crack lightly with 400-grit sandpaper to create a smooth surface. Apply a thin layer of clear silicone sealant along the crack using a putty knife. Spread the sealant 1 cm beyond the crack edges. Let the sealant cure for 24 hours before exposing to moisture.
| Tool | Purpose |
|---|---|
| 400-grit sandpaper | Smoothing surfaces |
| Microfibre cloth | Cleaning |
| Buffing compound | Scratch removal |
| Silicone sealant | Sealing cracks/holes |
| Putty knife | Sealant application |
| Repair tape | Patching holes |
Major damage to polycarbonate sheets requires specific repair techniques based on the type and extent of the damage. Each repair method focuses on restoring structural integrity and visual clarity.
Large cracks in polycarbonate sheets demand a systematic repair approach:
Significant holes require a comprehensive repair strategy:
| Damage Type | Required Materials | Repair Time | Durability |
|---|---|---|---|
| Large Cracks | Patch + Screws | 45 minutes | 3-5 years |
| Holes | Patch + Sealant | 60 minutes | 2-4 years |
| Warping | Heat Gun + Supports | 90 minutes | 5+ years |
Replacing damaged polycarbonate sheets requires precise measurements and proper installation techniques to ensure longevity and weatherproofing. Ensure compliance with UK Building Regulations when securing panels and sealing joints.
| Component | Spacing | Purpose |
|---|---|---|
| Fasteners | 300mm apart | Secure mounting |
| Expansion gap | 3mm | Thermal movement |
| Panel overlap | 5mm | Water drainage |
Regular maintenance extends the lifespan of polycarbonate sheets and reduces repair costs.
Inspect polycarbonate sheets every 3 months using these methods:
Clean polycarbonate sheets using these proven techniques:
| Maintenance Task | Frequency | Tools Required |
|---|---|---|
| Surface Inspection | Every 3 months | Torch bright light |
| Deep Cleaning | Every 6 months | Microfibre cloth soap |
| Seal Check | Every 12 months | Pressure gauge |
| Frame Maintenance | Every 12 months | Spanner set |
Common issues with polycarbonate sheets include leaks, loose panels and discolouration. Each problem requires specific repair techniques to maintain the sheet’s functionality.
Leaks in polycarbonate sheets occur at joints seams and fastening points. Fix leaks by:
Loose panels create gaps and compromise structural integrity. Secure panels by:
| Issue | Repair Time | Expected Durability |
|---|---|---|
| Leaks | 1-2 hours | 3-5 years |
| Loose Panels | 2-3 hours | 5+ years |
| Discolouration | 1-2 hours | 2-3 years |
Maintaining the sheets of your polycarbonate greenhouse doesn’t need to be a challenging job. With the right tools and techniques you can handle most repairs yourself saving both time and money.
For extensive damage structural issues or if you’re unsure about tackling repairs yourself it’s best to consult a professional. They’ll have the expertise and equipment to handle complex repairs safely and effectively.
Remember that proper maintenance and prompt attention to minor damage will help prevent more serious issues down the line. By following the repair techniques and maintenance guidelines outlined above you’ll be well-equipped to keep your polycarbonate sheets in excellent condition for years to come.
Yes, you can repair scratches on polycarbonate sheets at home using basic tools. For minor scratches, you’ll need fine-grit sandpaper (400-grit) and a buffing compound. Clean the area first, then gently sand and buff the scratch. For deeper scratches, start with a coarser grit before progressing to finer grits.
Essential tools include cleaning solution, fine-grit sandpaper, buffing compound, silicone sealant, measuring tape, safety goggles, work gloves, and a dust mask. For larger repairs, you may need additional items like repair tape, replacement panels, and screws. All tools should comply with UK safety standards.
For small holes, clean the area thoroughly and apply silicone sealant or use repair tape. For larger holes, cut a patch from a matching polycarbonate sheet slightly larger than the damaged area. Clean the edges, apply silicone sealant, and secure the patch in place. Allow proper drying time.
Replace sheets when they show extensive damage like large cracks, significant warping, or structural weakness. Multiple repairs in close proximity or damage affecting more than 30% of the sheet area also warrant replacement. Minor scratches, isolated cracks, and small holes can typically be repaired.
Implement regular maintenance including cleaning with mild soap solution, checking seals and fixings, and ensuring proper drainage. Install protective films, maintain adequate gap allowances for thermal expansion, and trim overhanging branches. Regular inspections help identify potential issues early.
Discolouration typically occurs due to UV exposure, chemical exposure, or inadequate cleaning. Regular cleaning with appropriate solutions and applying UV-resistant coatings can help prevent this issue. Avoid using harsh chemicals or abrasive cleaners that can damage the surface.
The durability of repairs depends on the type of damage and repair method used. Minor scratch repairs can last 3-5 years, while properly sealed holes can last 5-7 years. Structural repairs with patches and sealants typically last 2-4 years, depending on weather exposure and maintenance.
Yes, leaks can be fixed by identifying the source and applying appropriate sealant. Clean the area thoroughly, apply silicone sealant to gaps or joints, and ensure proper drainage channels are clear. Check and maintain rubber gaskets and sealing tape regularly to prevent future leaks.
Learn how to choose your perfect first greenhouse with our expert guide. Discover size, materials, and features to extend your growing season by 2-3 months.
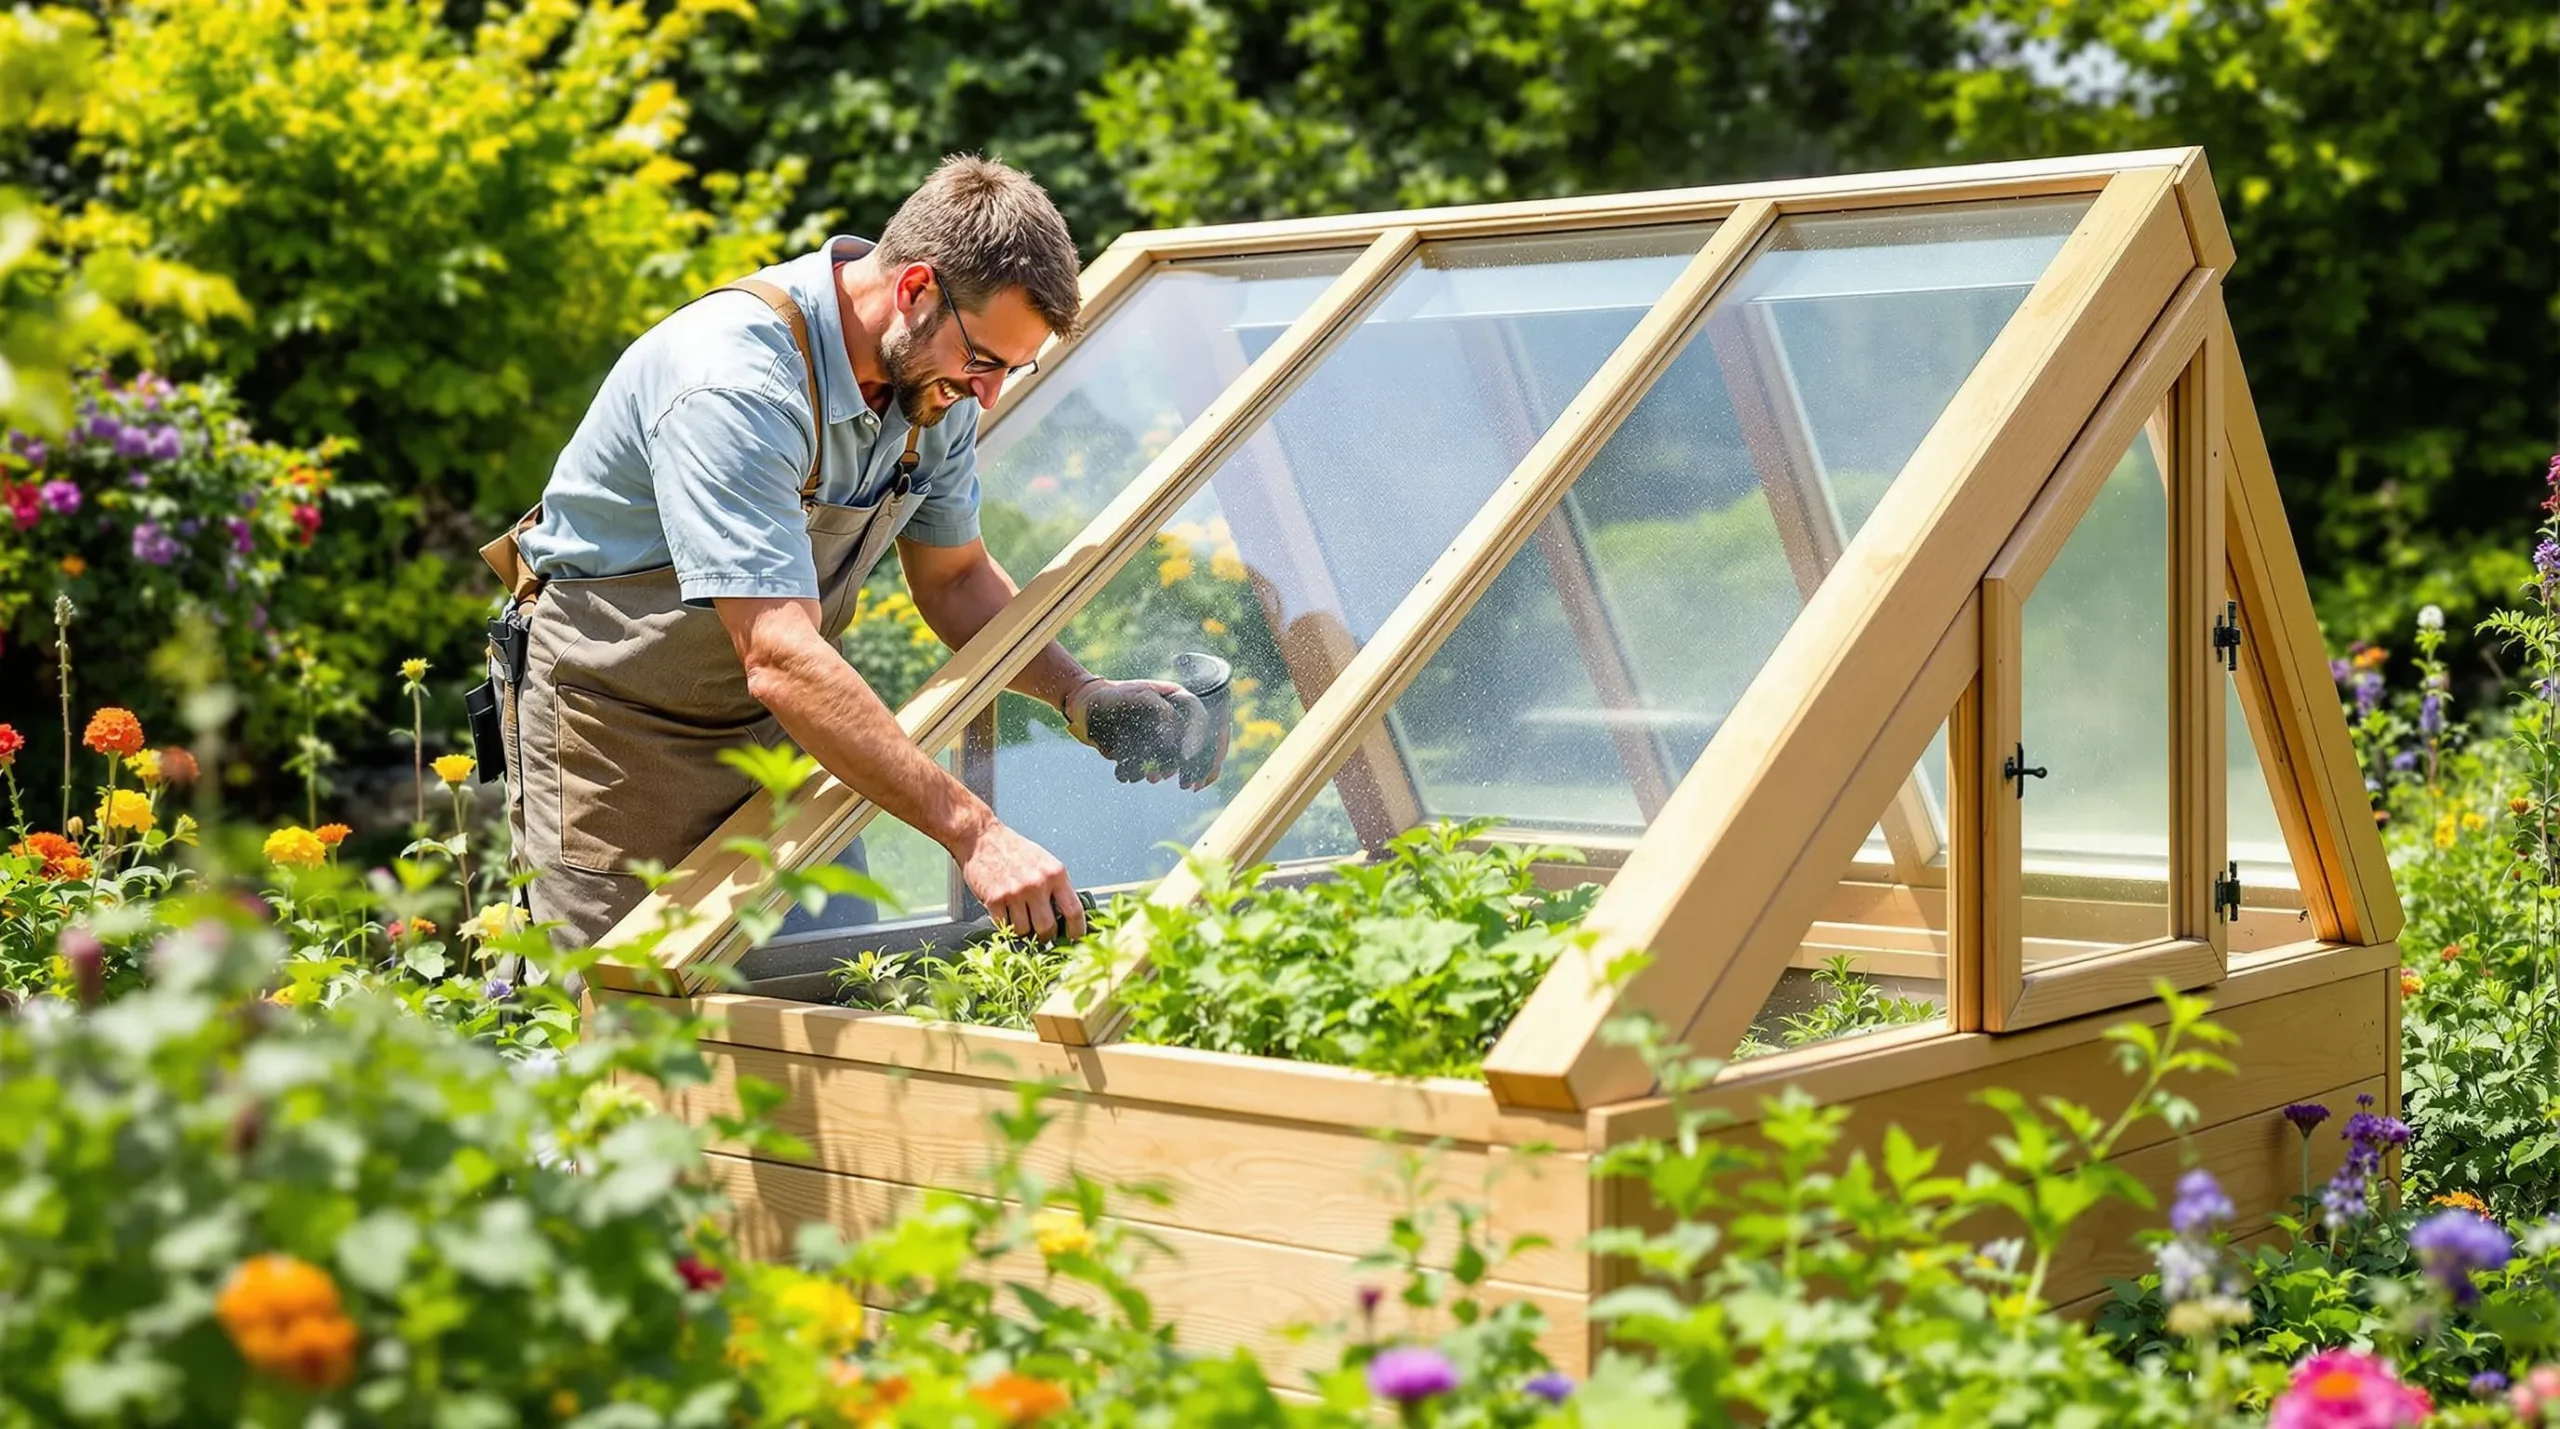
Learn how to make a cold frame to extend your growing season, protect plants in winter, and grow seedlings all year. Simple, cost-effective, and DIY-friendly!